Areas of the Processes module
General / Process properties

Every opened process can be reached via its own tab at the head of the workspace. If an entry has been created in the history, the ID of the entry will be shown next to the name of the process in the tab. Simply click on the tab to switch to a different process. By double-clicking on the tab at the top on the workspace the properties dialog of the process will open. All other tabs denote an area of the module.
All tabs and/or areas of the module can be closed with the ![]() symbol
symbol
and opened from the View menu. You can also move the tabs in your title via drag & drop.
The process has been deactivated. Click here to activate the process
Click here for more information about this link.
Elements

You will find this area on the left of the workspace. If you select an entry at the top, the elements will be filtered based on this categories. The elements, that you will use to construct a process, can be selected here and then moved onto the workspace via drag & drop. The display of elements can be changed via the context menu.
-
Show icons
Shows icons for the elements
-
Show icons and titles
Shows icons and titles of the elements
-
Show icons and descriptions
Shows icons and a short description
The context menu item "Show categories view" will make the upper area visible; this presents the elements in categories in a tree structure.
![]() Search
Search
You can search for elements here.
![]() Reset filter
Reset filter
Clears the search field.
Snapshots
With snapshots, the current process will be cached at defined intervals. Clicking on a snapshot resets the process to the state at that specific time.
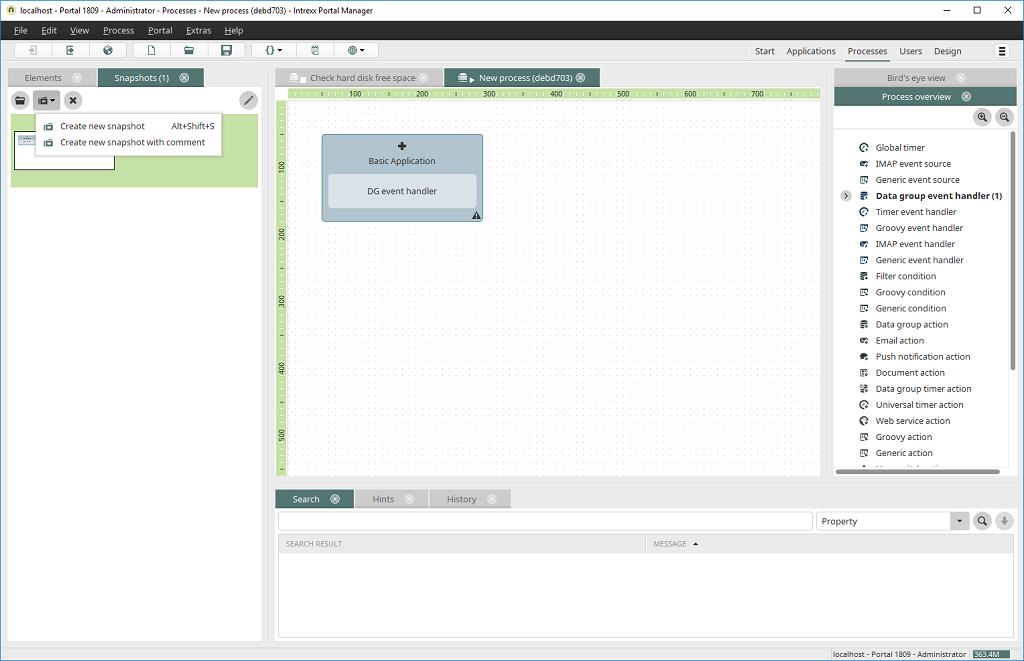
![]() Create snapshot
Create snapshot
Opens a submenu where a new snapshot can be created. The submenu item Create new snapshot with comment opens a dialog where the new snapshot can be commented. The comment will be shown in the Snapshot area under the date, when the snapshot was created.
![]() Open snapshot
Open snapshot
The selected snapshot is opened on the workspace.
![]() Options
Options
Opens a dialog where the maximum number of created snapshots and the interval between automatic snapshots can be defined.
Workspace
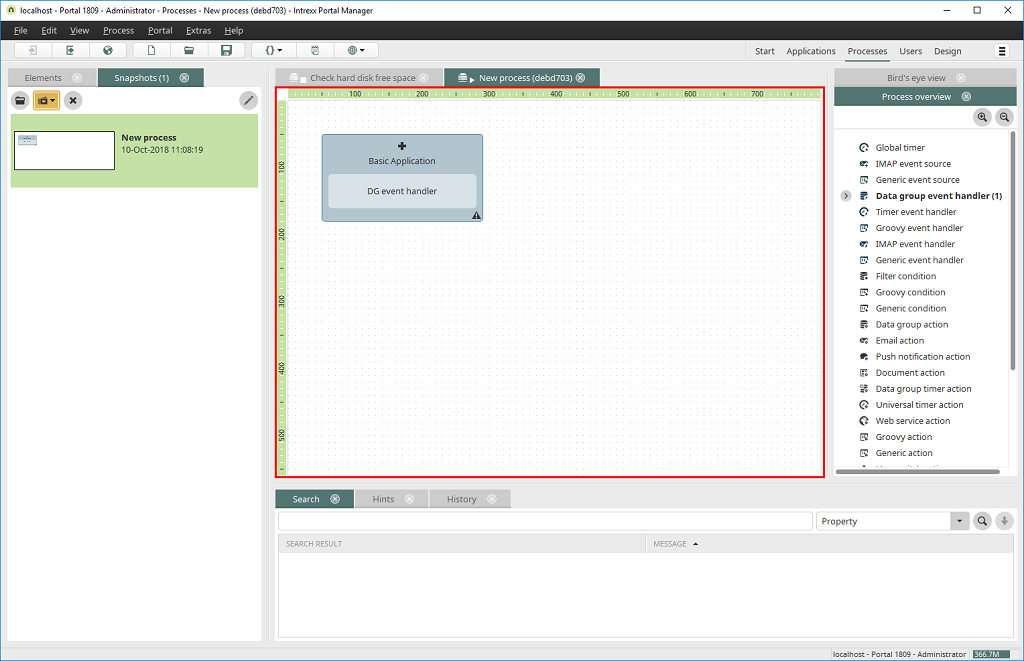
In the middle you will find the workspace, on which all process elements will be chained to a process. You can select the elements from the "Elements" area and assign them to a location on the workspace via drag & drop.
Process overview
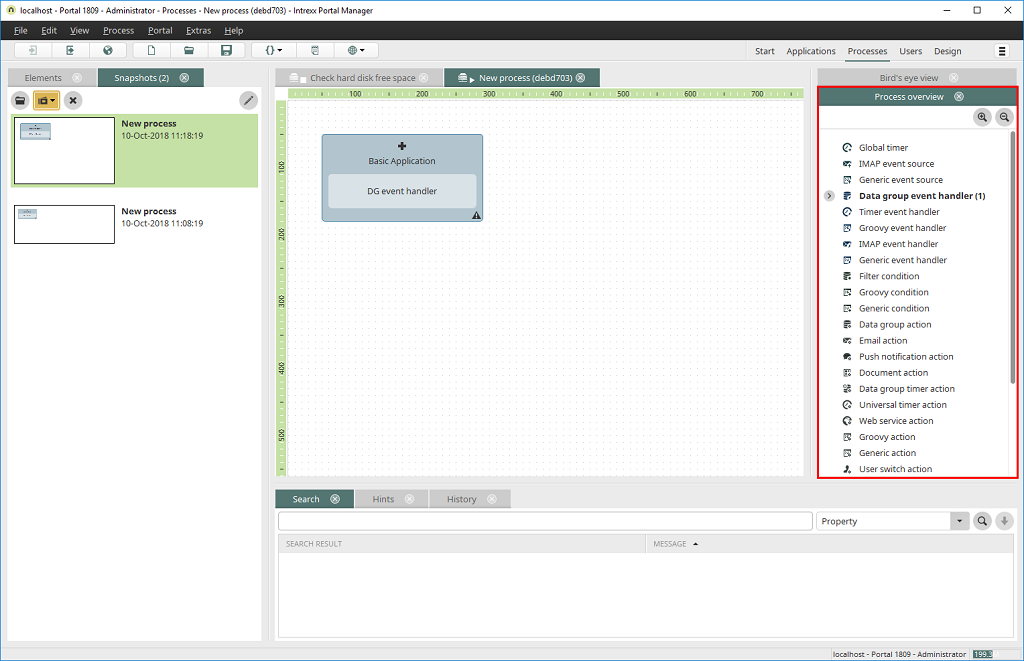
You will find this tab on the right of the workspace. Here, every element that you have created can be found in its specific element category, in able to aid you in locating individual elements. If you highlight the element here, it will also be marked on the workspace.
Bird's eye view
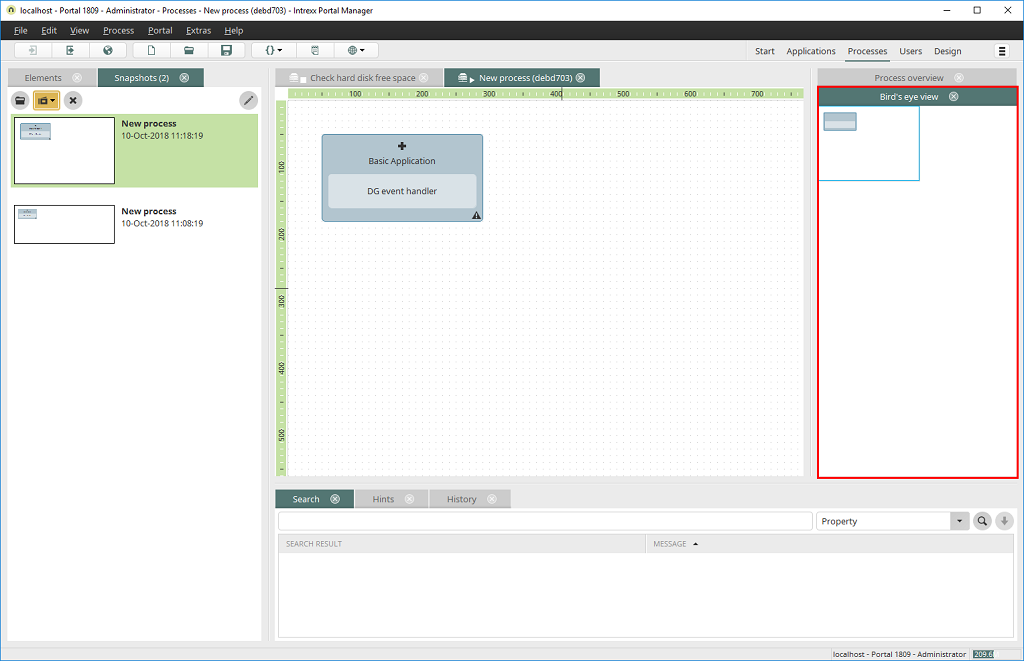
Here, you can find a smaller version of the entire process diagram, and can navigate with a movable window to the places on the workspace that you wish to see.
Context menu "Automatic scaling"
The automatic scaling adjusts the overview to the current size of the Bird's eye view area.
Context menu "Standard scale"
The overview is shown in the scale 1:5.
Context menu "Zoom in / Zoom out"
Adjusts the zoom level of the bird's eye view.
Search, Hints, History
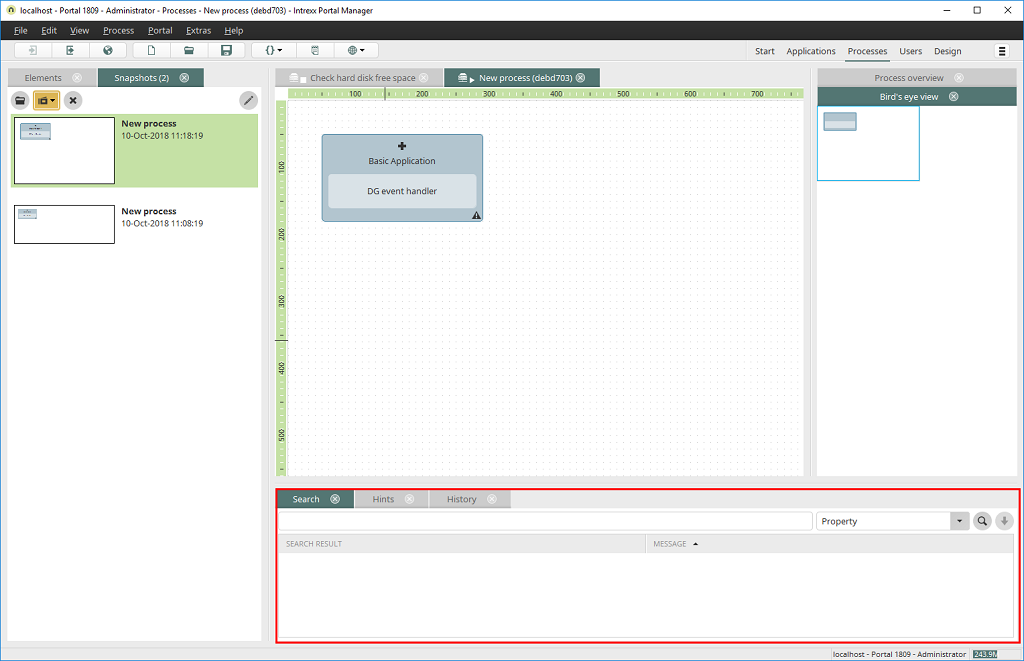
At the bottom, you will find more tabs which can be shown/hidden via the "View" menu.
Search

Search field
Enter a search term here.
Drop-down list
Here are different functions available for the search.
-
Property
Searches for element properties.
-
GUID: Definition
A search will be performed in the current process for elements with the specified GUID.
-
GUID: Usage (in all processes)
A search will be performed for a GUID in the current process, as well as in the published processes. In the results list, the search results on the current process will be shown as usual. If the GUID is found in other published processes as well, the title of the process in which it is found will be shown in the search results in color.
Please note: If a process is opened after searching for a GUID and then selecting a hit, then the search should be performed again to gain more exact search results.
-
Title
Searches for element titles.
-
Description
Searches for element descriptions.
![]() Search
Search
Triggers the search. Hits will be shown beneath the search field. If you click on a hit, the corresponding element will be highlighted on the workspace.
![]() Search history
Search history
Opens a window with a list of the most recent searches. Click on a search action to repeat it.
Notes
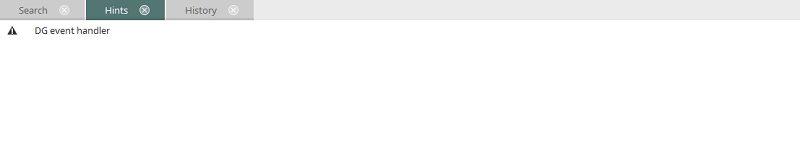
This tab provides information about elements on the workspace that have not been configured completely or connected. The ![]() symbol informs you that an element's configuration is not yet complete. Errors can occur when saving a process for two reasons.
symbol informs you that an element's configuration is not yet complete. Errors can occur when saving a process for two reasons.
The first is when an email action, which has been configured for a data group action, has been connected to a data group event handler, which in turn was configured for another data group. The second cause could be if an application does not exist in the portal, and its data groups are referenced by the process. The warning in the Hints area will remain until the next time the process is saved. More details about a hint will appear when you move the mouse over an entry.
History
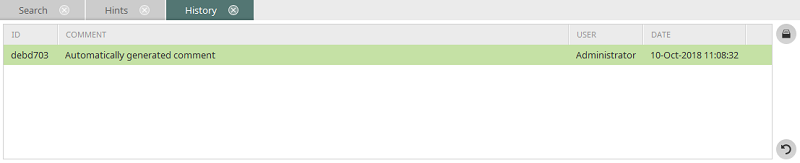
Click here for more information about this area.