Importing certificates into the portal
Step-by-step guide
To import a certificate to your portal certificate store, please proceed as follows:
-
Open the portal properties ("Portal" menu > "Portal properties").
The "Edit portal" dialog will open.
-
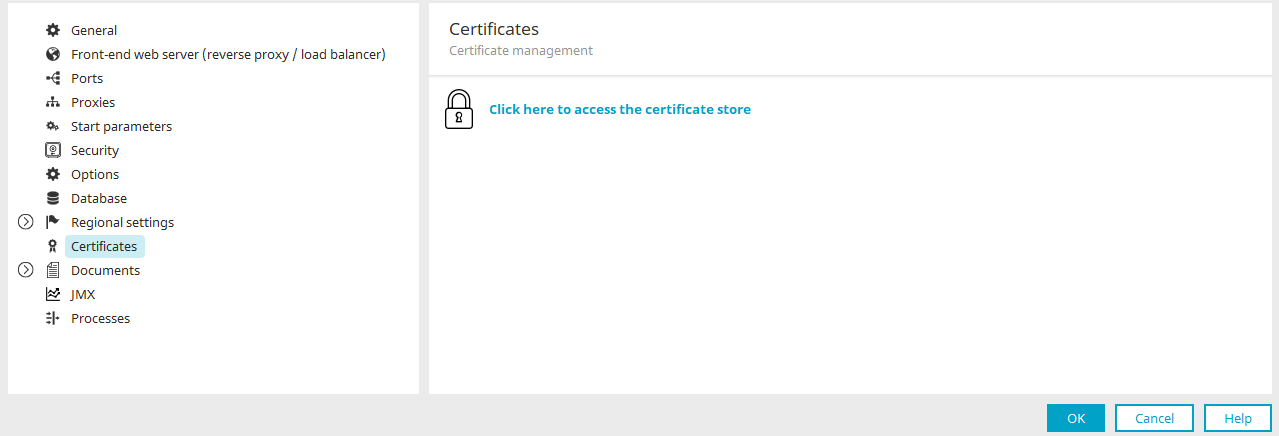
Click on "Certificates".
You will now be on the "Certificates" page.
If you have not yet access the certificate store, you will see a lock symbol and a link.
-
Click on Click here to access the certificate store.
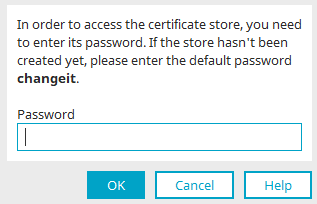
The "Certificate store password" dialog will open.

Enter the password "changeit" if you have not defined a password for the certificate store. (You can change the password for the certificate store in the next dialog.)
Enter your password if you have defined a password for the certificate store.
-
Click on "OK".
You will now see a list of all certificates included with Intrexx.
-
Make the necessary entries.
-
Click on "Next".
Details of the certificate selected in the previous step are shown in the next dialog. -
Click on "Next".
-
Provide the certificate with an alias name in the next dialog.
The alias name helps you identify the certificate in the certificate store. -
Click on "Finish".
You will now be returned to the certificate store. The certificate imported by you is shown here.
You have imported a certificate into your portal certificate store.
Click on "+".
![]()
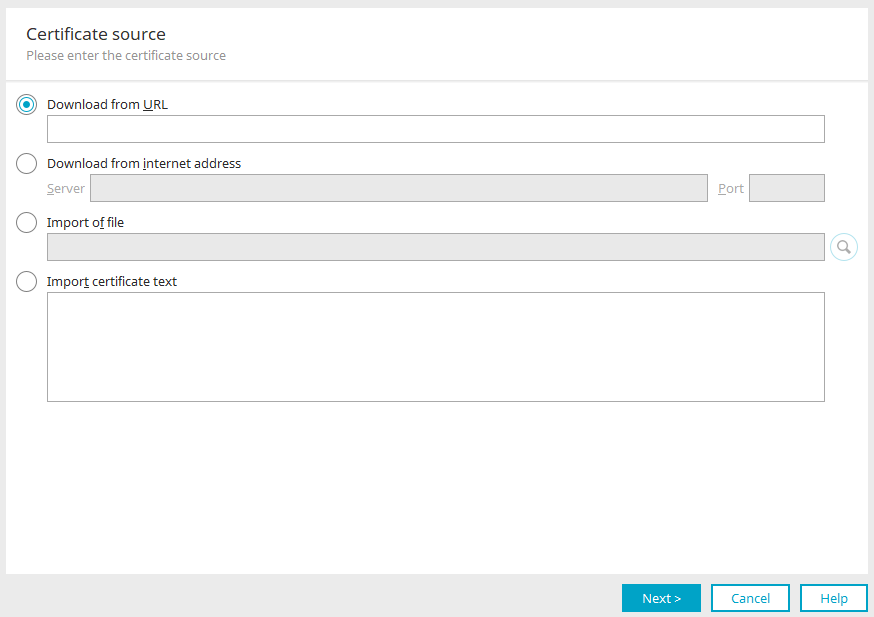
The "Certificate import" dialog will open.
|
Name |
Description |
|---|---|
|
Download from URL |
A certificate can be loaded here. The "Certificate import" dialog will open. |
|
Download from Internet address |
Allows you to download certificates. |
|
Server / Port |
Enter the download server (its name or IP address) and the port. |
|
Import of file |
A certificate file can be integrated with this option. |
|
Opens a dialog where the certificate file can be selected. |
|
|
Import of the certificate's text |
Allows you to directly enter the certificate text. Enter the corresponding text in the edit field. |