Examples
Example - Simple message
Functions
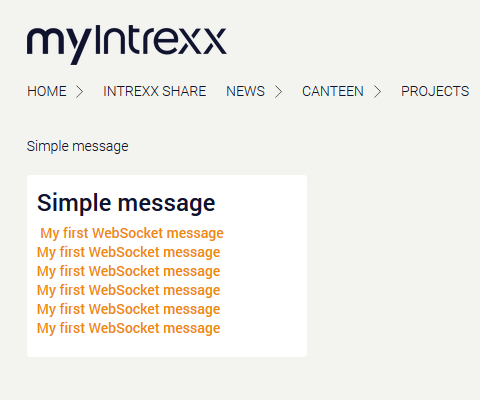
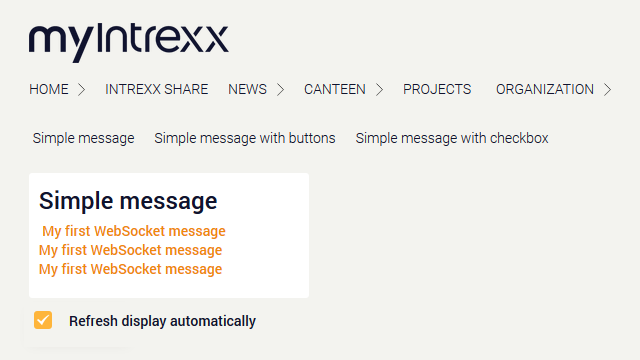
In this example, the message "My first WebSocket message" will be sent to the "Simple message" view page as before. The "Simple message" view page is part of an application with the same name. The message sending is triggered by a global timer in Intrexx. The execution time is set to every 10 seconds. The message is created in a WebSocket action and linked to a topic from the "Simple message" application there.
Please note: This example is designed to help you understand the basic functions of WebSockets in Intrexx.
It does not represent a real-life use case. Nonetheless, the configuration steps can be transferred one-to-one to real-life use cases.
Configuration of the example
1. Message trigger
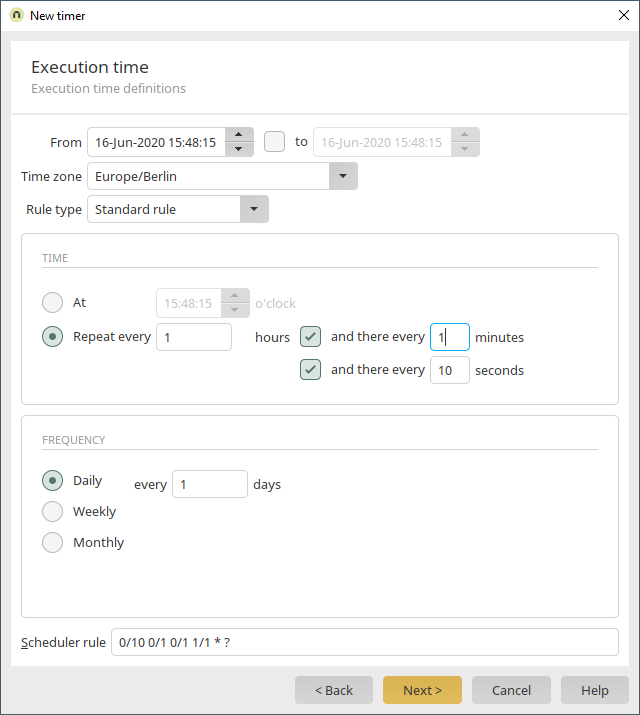
The message is triggered by an internal event, a global timer in this case. The execution time is set to every 10 seconds. The global timer is the event source in the "Simple message" example.
2. Create topic
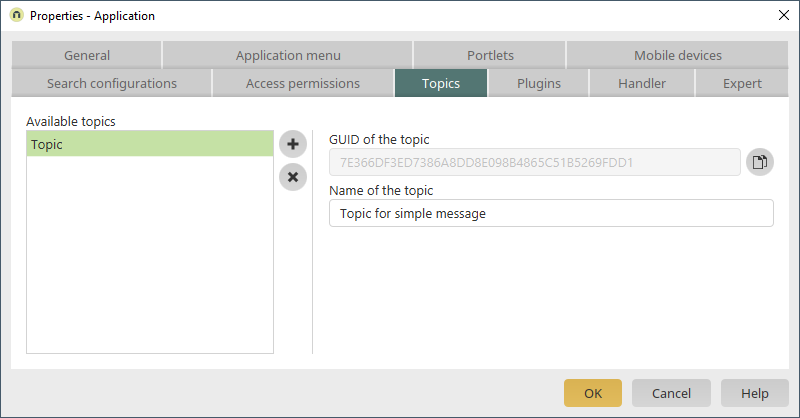
A topic called "Topic for simple message" has been created in the "Simple message" application.
3. Define appearance in the portal
-
Create the element where the messages should be displayed.
In the "Simple message" example application, the "Simple message" view page has been created.
To display the messages, a "Static text" element has been added to the view page.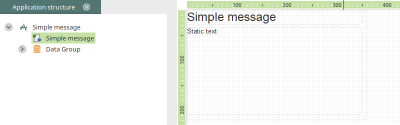
-
Define the element where the messages should be displayed.
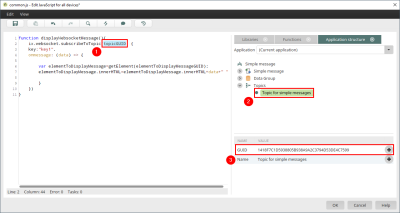
The JavaScript function looks like this:function displayWebsocketMessage() { ix.websocket.subscribeToTopic(topicGUID, { key: "key1", onmessage: function onmessage(data) { var elementToDisplayMessage = getElement(elementToDisplayMessageGUID); elementToDisplayMessage.innerHTML = elementToDisplayMessage.innerHTML + data + " "; } }); }
Please note: You can easily add the topic GUID to the code as follows:
1. Place the cursor where the topic GUID should be inserted.
2. Select the desired topic in the "Application structure".
3. Click on the
 icon.
icon.
-
Define the event for the subscription.
The "Simple message" view page should subscribe to the "Topic for simple message" when it is loaded. Therefore, "onload" is selected as the event for the JavaScript function for subscribing to the topic.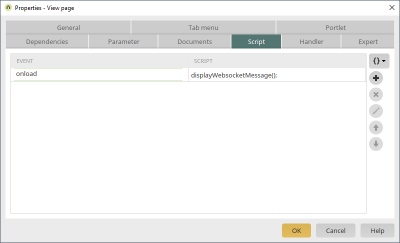


4. Configure WebSocket action
In our example, a process called "Simple message with Groovy" has been created.
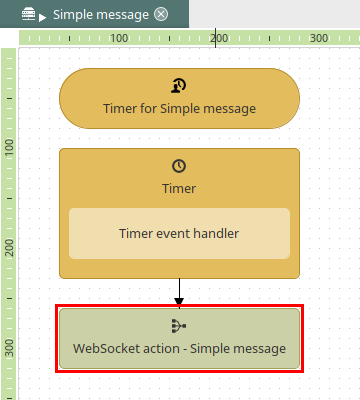
This process contains a WebSocket action.
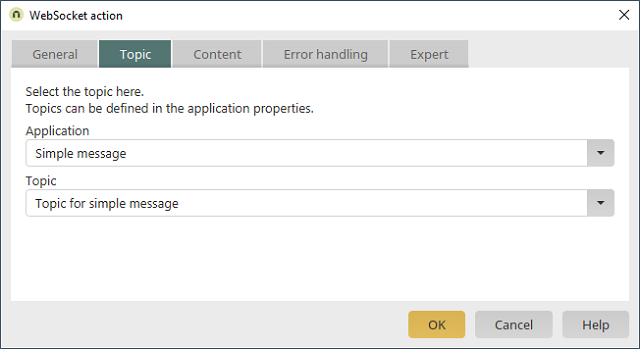
In the WebSocket action's properties, the "Simple message" application and the "Topic for simple message" have been selected on the "Topic" tab.
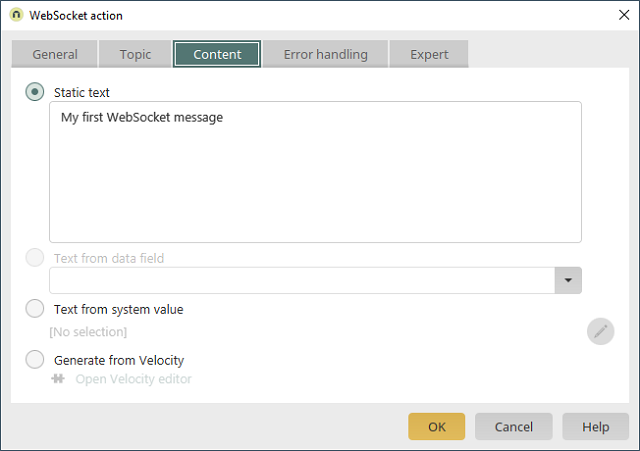
The static text "My first WebSocket message" has been entered on the "Content" tab.
Example - Simple message with Groovy script
Functions
This example produces the same result as the "Simple message" example. In this case, however, the message content and the link to the topic will be implemented using a Groovy script action.
Configuration of the example
- Message trigger
Same as the "Simple message" example
- Create topic
Same as the "Simple message" example
- Define appearance in the portal
Same as the "Simple message" example
- Configure Groovy script action
In our example, a process called "Simple message with Groovy" has been created.
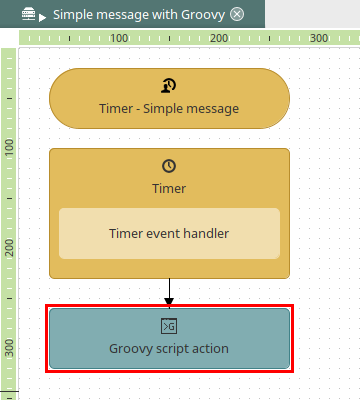
This process contains a Groovy script action.
This contains the following Groovy script:import de.uplanet.lucy.server.websocket.groovy.GroovyWebSocketTopic GroovyWebSocketTopic.sendTextMessage(topicGUID, "My first WebSocket message")You could also generate a JSON message. The code for this looks like this:
import de.uplanet.lucy.server.websocket.groovy.GroovyWebSocketTopic def msg = [ seq: 1, greet: "My first WebSocket message" ] GroovyWebSocketTopic.sendJsonMessage(topicGUID, msg)

Groovy action and WebSocket action in one process
Functions
This example is designed to demonstrate a dynamic message. The message consists of a random number. This number is generated by a Groovy script and transferred to a variable. A global timer triggers the script every 10 seconds. In this way, a new random number is generated every 10 seconds, which is then displayed in an edit field and automatically updated every 10 seconds by a WebSocket action.
Configuration of the example
- Message trigger
Same as the "Simple message" example
- Create topic
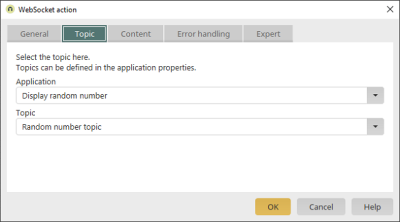
An application called "Display random number" has been created. It has a topic called "Random number topic".
- Define appearance in the portal
The JavaScript functions look like this:
function displayRandomNumber() { var myfield = getElement(elementToDisplayRandomNumberGUID); subscribeMyTopic(topicGUID, myfield); } function subscribeMyTopic(topicGuid, elementTarget) { return ix.websocket.subscribeToTopic(topicGuid, { onmessage: function onmessage(data) { Browser.setValue(elementTarget, data); } }); } - Configure Groovy script action
In our example, a process called "Random number" has been created.
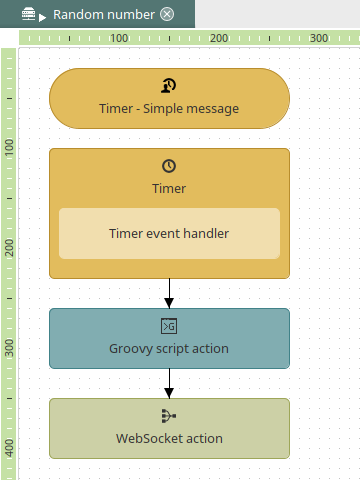
The Groovy action in this process generates a random number and transfers it to a variable.
The Groovy script code looks like this:def yourVar=(int)(Math.random() *20); g_sharedState.myVar=Integer.toString(yourVar)In the WebSocket action's properties, the "Display random number" application and the "Random number topic" have been selected on the "Topic" tab.
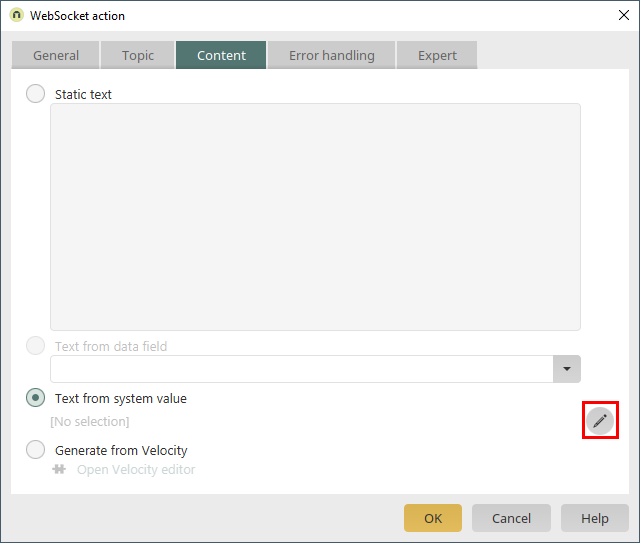
The option "Text from system value" has been selected on the "Content" tab.

"Shared state" has been selected as the type in the "Edit system value" dialog.
"msg" has been entered in the value field.


Example - Subscribe and unsubscribe via buttons
Functions
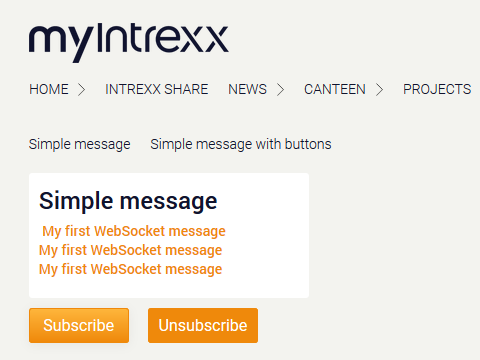
In this example, the message "My first WebSocket message" will be sent to the "Simple message" view page as before. But in this case, the (portal) user has the option of turning the automatically received messages on or off by clicking on the corresponding buttons.
Configuration of the example
- Message trigger
Same as the "Simple message" example
- Create topic
Same as the "Simple message" example
- Define appearance in the portal
Create the elements that allow the user to subscribe or unsubscribe manually.
Two buttons have been added to the "Simple message" view page.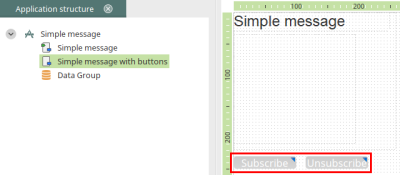
The user subscribes to the "Topic for simple message" topic by clicking on the "Subscribe" button. The JavaScript function looks like this:
function displayWebsocketMessage() { ix.websocket.subscribeToTopic(topicGUID, { key: "key1", onmessage: function onmessage(data) { var elementToDisplayMessage = getElement(elementToDisplayMessageGUID); elementToDisplayMessage.innerHTML = elementToDisplayMessage.innerHTML + data + " "; } }); }The user unsubscribes from the "Topic for simple message" topic by clicking on the "Unsubscribe" button. The JavaScript function looks like this:
function unsubscribeWebsocketMessage(){
	ix.websocket.unsubscribeFromTopic("key1");
}

Example - Subscribe and unsubscribe via buttons
Functions
In this example, the message "My first WebSocket message" will be sent to the "Simple message" view page as before. But in this case, the (portal) user has the option of turning the automatically received messages on or off by activating or deactivating a checkbox.
Configuration of the example
- Message trigger
Same as the "Simple message" example
- Create topic
Same as the "Simple message" example
- Define appearance in the portal
Create the elements that allow the user to subscribe or unsubscribe manually.
A checkbox has been added to the "Simple message" view page.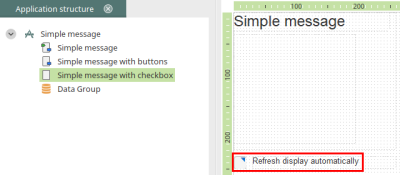
Define the event for the subscription.
The "Simple message" view page subscribes to the "Topic for simple message" topic when it is loaded. Therefore, "onload" is selected as the event for the JavaScript function for subscribing to the topic.
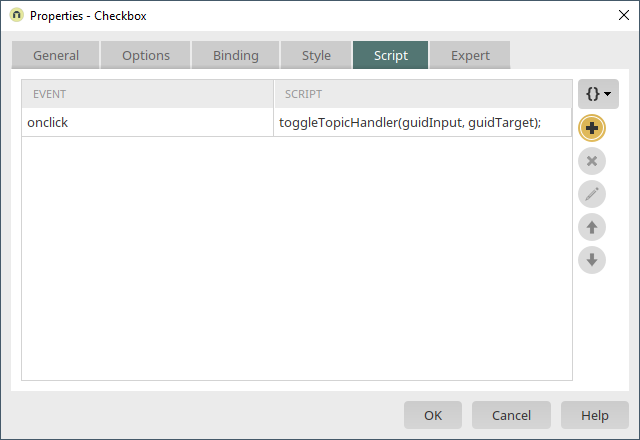
Define the event for unsubscribing. The "onclick" event of the checkbox is selecting for unsubscribing and resubscribing.
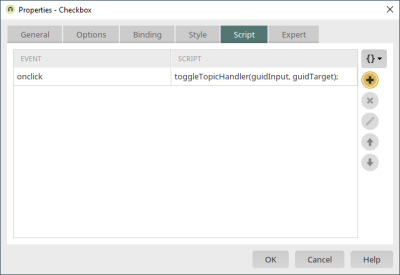
The "onclick" event calles the function "toggleTopicHandler(guidInput, guidTarget)". The JavaScript function looks like this:
function toggleTopicHandler(guidInput, guidTarget) {
  var elementInput = getElement(guidInput);
  var elementTarget = getElement(guidTarget);

  if ($(elementTarget).data("topicSub")) {
    unsubscribeTopic($(elementTarget).data("topicSub"));
    $(elementTarget).removeData("topicSub");
    writeMessage(elementTarget, "Stop listening...");
    return true;
  } else {
    var promiseSub = subscribeTopic(elementInput.oUp.getValue(), elementTarget);
    $.when(promiseSub).done(function (subscriber) {
      writeMessage(elementTarget, "Start listening...");
      $(elementTarget).data("topicSub", subscriber);
    });
    return promiseSub;
  }
}

function subscribeTopic(topicGuid, elementTarget) {
  return ix.websocket.subscribeToTopic(topicGuid, {
    onmessage: function onmessage(data) {
      writeMessage(elementTarget, data);
    }
  });
}

function unsubscribeTopic(subscriber) {
  return ix.websocket.unsubscribeFromTopic(subscriber);
}

function writeMessage(elementTarget, message) {
  elementTarget.innerHTML = "<p>" + message + "</p>" + elementTarget.innerHTML;
}