Tips & Tricks - Conditional display
This workshop will demonstrate how to integrate a button into a free layout table and then to determine whether the button is visible there based on the date using the conditional display.
Create a new application based on the "Basic application" template.
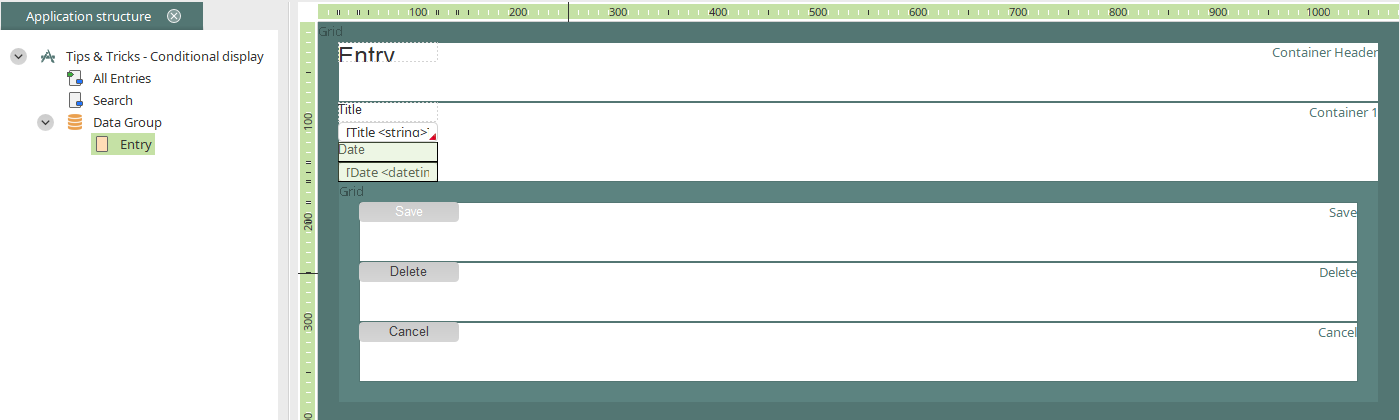
Switch to the edit page and add an edit field with the "Date" control type. Then create a view page via the context menu "New / View page" in the data group.
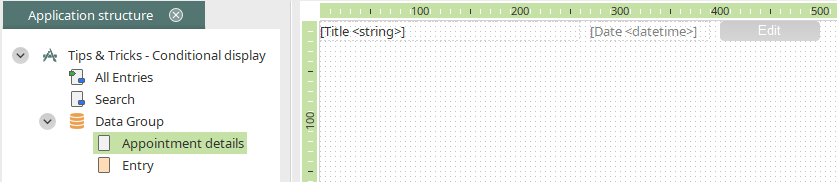
This view page called "Appointment details" will be integrated into a free layout table later. Create both the "Date" and "Title" view fields which are connected with the data fields of the same name, and arrange them in a single row. Additionally, a "Text" button is created with the title "Edit". The entry page can be set as a Link destination for the button.
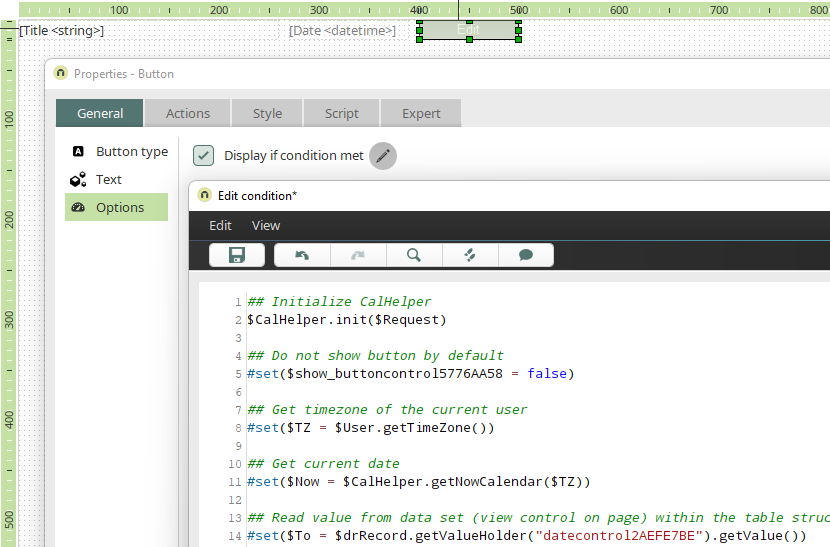
Next activate Expert options. Open the button’s properties dialog and click on "Options" on the "General" tab. Activate the option "Display if condition met" and then open the Velocity Editor by clicking on ![]() Edit condition. Add the following script there.
Edit condition. Add the following script there.
## Initialize CalHelper
$CalHelper.init($Request)

## Do not show button by default
#set($show_buttoncontrol5776AA58 = false)

## Get timezone of the current user
#set($TZ = $User.getTimeZone())

## Get current date
#set($Now = $CalHelper.getNowCalendar($TZ))

## Read value from data set (view control on page) within the table structure of the overview page
#set($To = $drRecord.getValueHolder("datecontrol2AEFE7BE").getValue())

## Comparison of the date values. Please note: getTime() has to be executed twice
## on CalenderObject to get ms value

#if($Now.getTime().getTime() < $To.getTime())
#set($show_buttoncontrol5776AA58 = true)
#end
Replace "buttoncontrol5776AA58" with the name of your button and "datecontrol2AEFE7BE" with the name of your "Date" view field. Both names can be identified in the editor in the "Application structure" area.
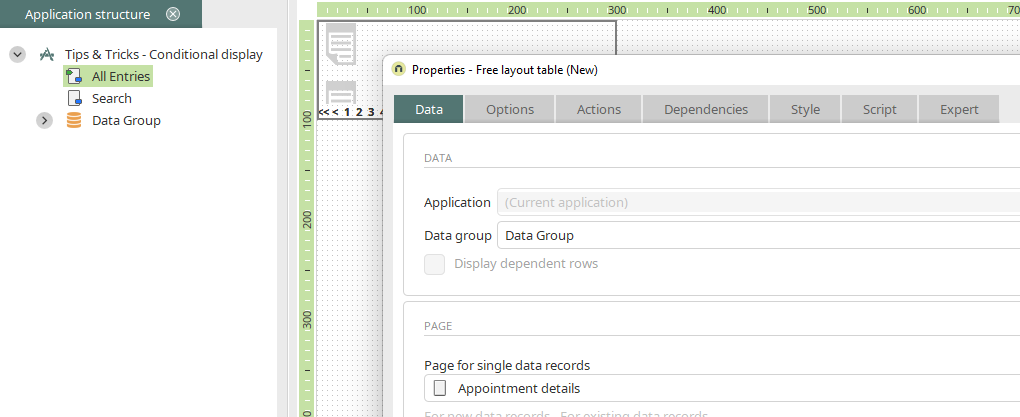
Now switch to the "All Entries" page. Remove all the elements there and create a Free layout table. Open the properties dialog of the table. Integrate the "Appointment details" view page on the "Data tab".
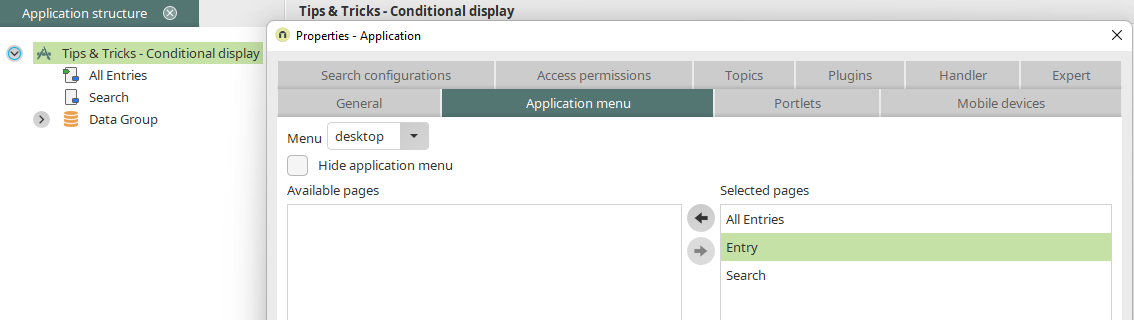
Integrate the input page "Input" via the context menu "Properties" in the application node in the Application menu, so that you can add data records in the browser later.
Click "OK" to close the properties dialog and save the application. Open the portal and the application in the browser.

You can see that the Edit button - as defined in the conditional display - is only shown next to the data record with a date greater than the current date (24/01/2020 in this example).