Confirm registration request as administrator; create user account
Step-by-step guide
To confirm a registration request and create a user account, proceed as follows:
-
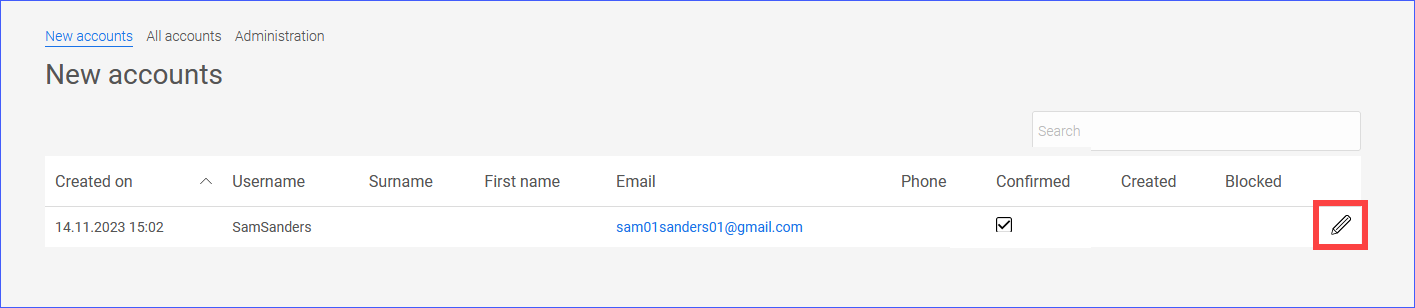
Go to the New accounts page.
An enabled checkbox is displayed in the "Confirmed" column. This indicates that there is a registration request that has been confirmed by the user via email.

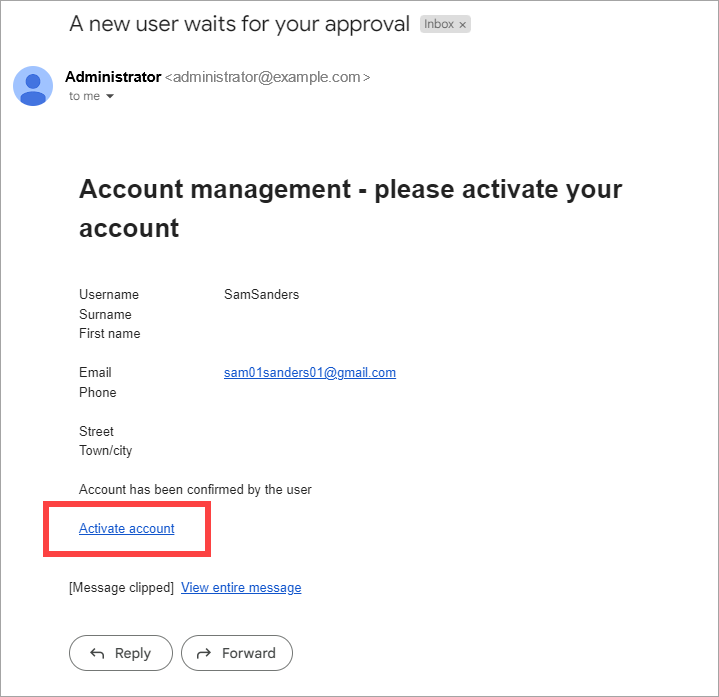
If you have entered an email address on the Settings page, you will receive an email notifying you that a registration request has been received.

-
Click on Enable account in the email.
You will be redirected to the New Accounts page in the portal.
OR
-
Go to the New accounts page in the portal if you have not set up email notification or do not want to open your emails (at the present time).

-
Click on the pencil icon
 (edit).
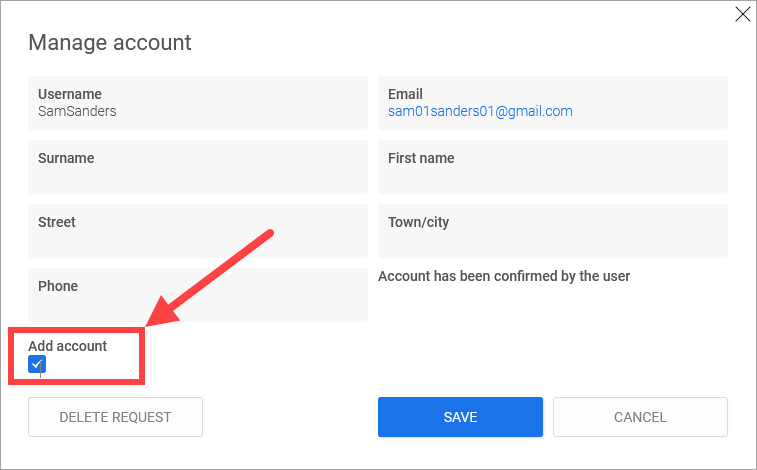
The "Account management" dialog box is displayed.

-
Enable the "Create account" checkbox.
-
Click on .
This takes you to the All accounts page.
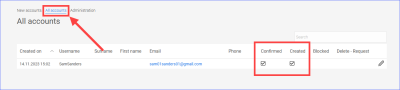
An enabled checkbox is displayed in the "Created" column. This shows you that the user has been created and registration is completed.
When registration is confirmed, the portal user receives an email confirming that an account has been created for them and that they can now log in to the portal.