Manage contacts
View contacts
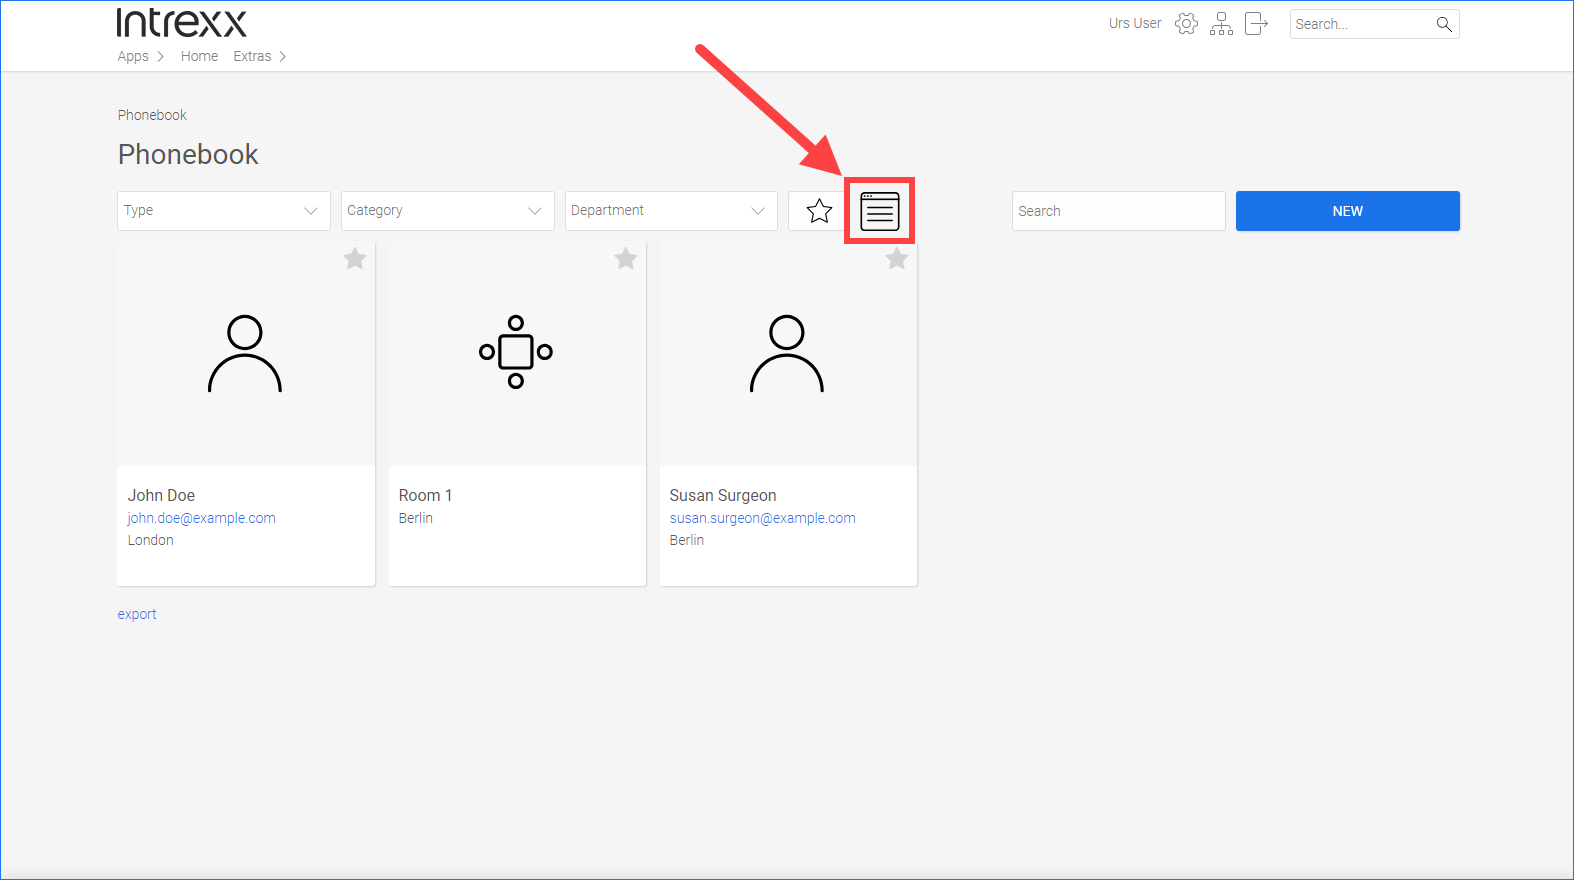
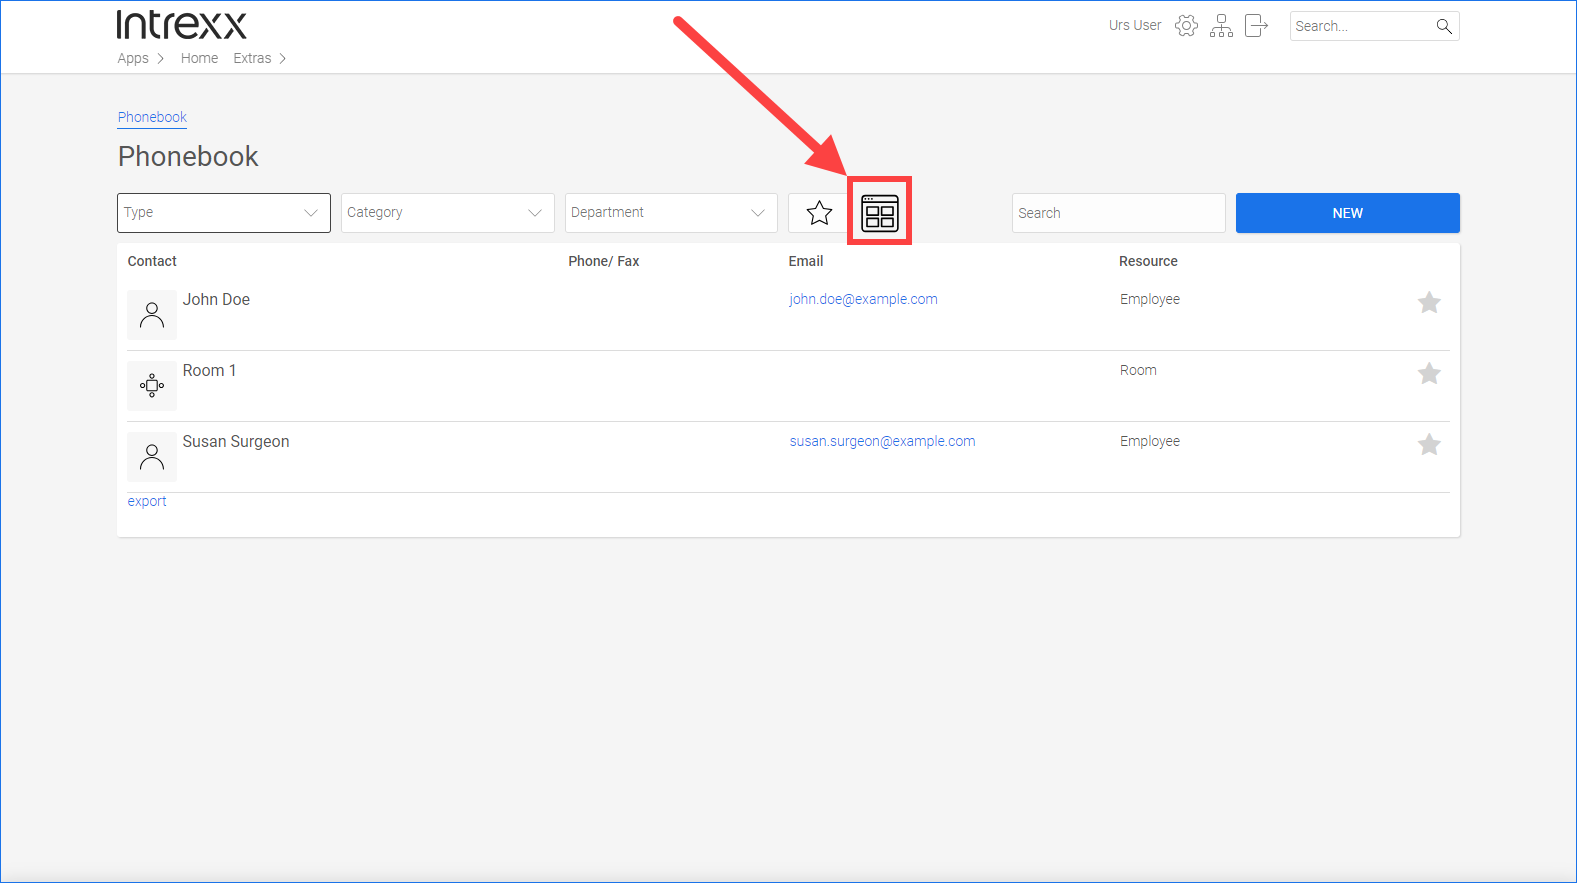
In the "User" role, you have access to the "Phonebook" page. You can find contacts and resources there. The application provides two views for this: the Tile view and List view. You can switch between the views with an icon.
![]()
Tile view
![]()
List view
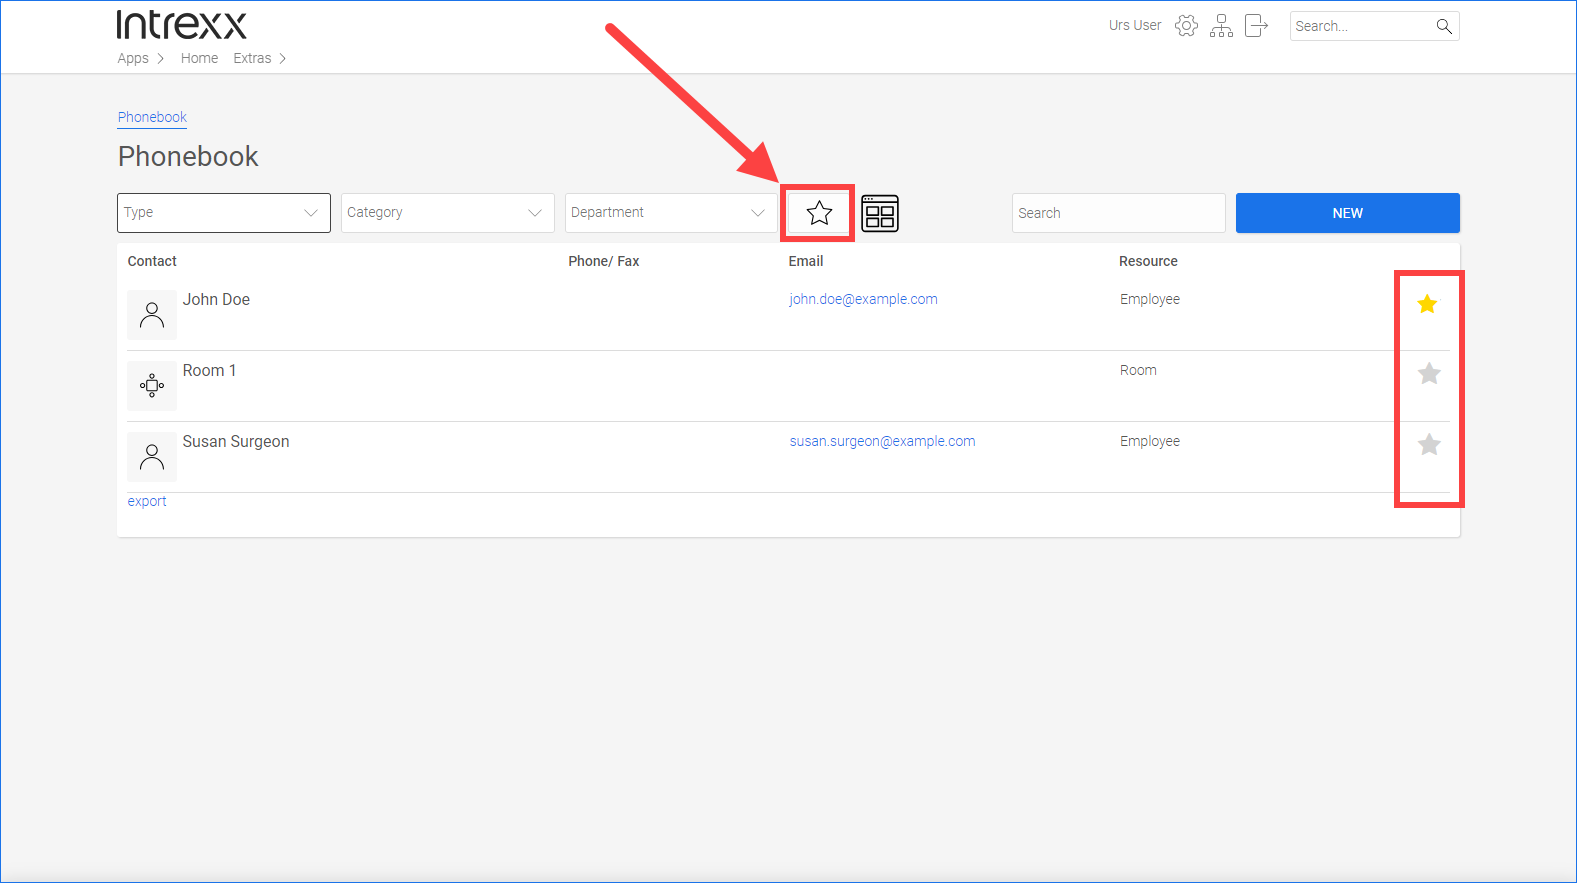
Add to favorites
You can add contacts and resources to your favorites. Click the star icon next to a contact to do this.
Click on the star icon at the top of the page if you only want to see your favorites.
![]()
Create contact
You can create new contacts in the "User" role and in the "Manager" role. However, you may not have access to all resource types, which you can assign contacts to, in the "User" role.
Step-by-step guide
To create a new contact, please proceed as follows:
-
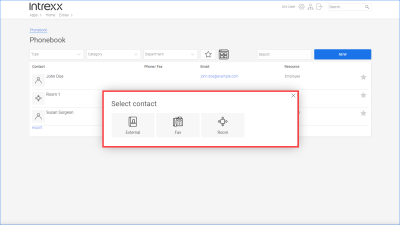
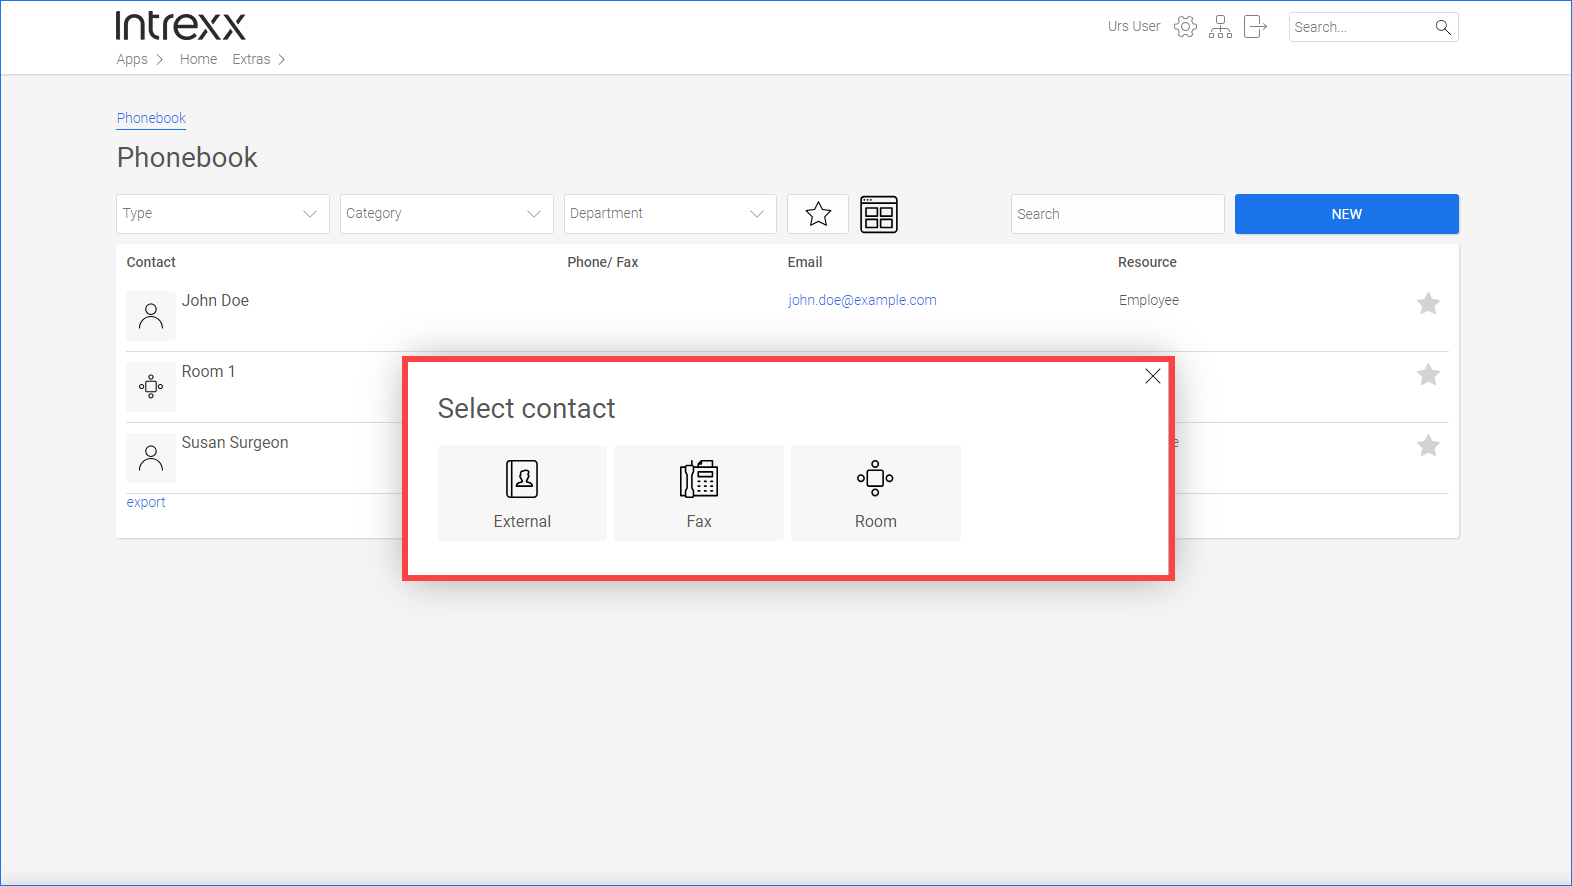
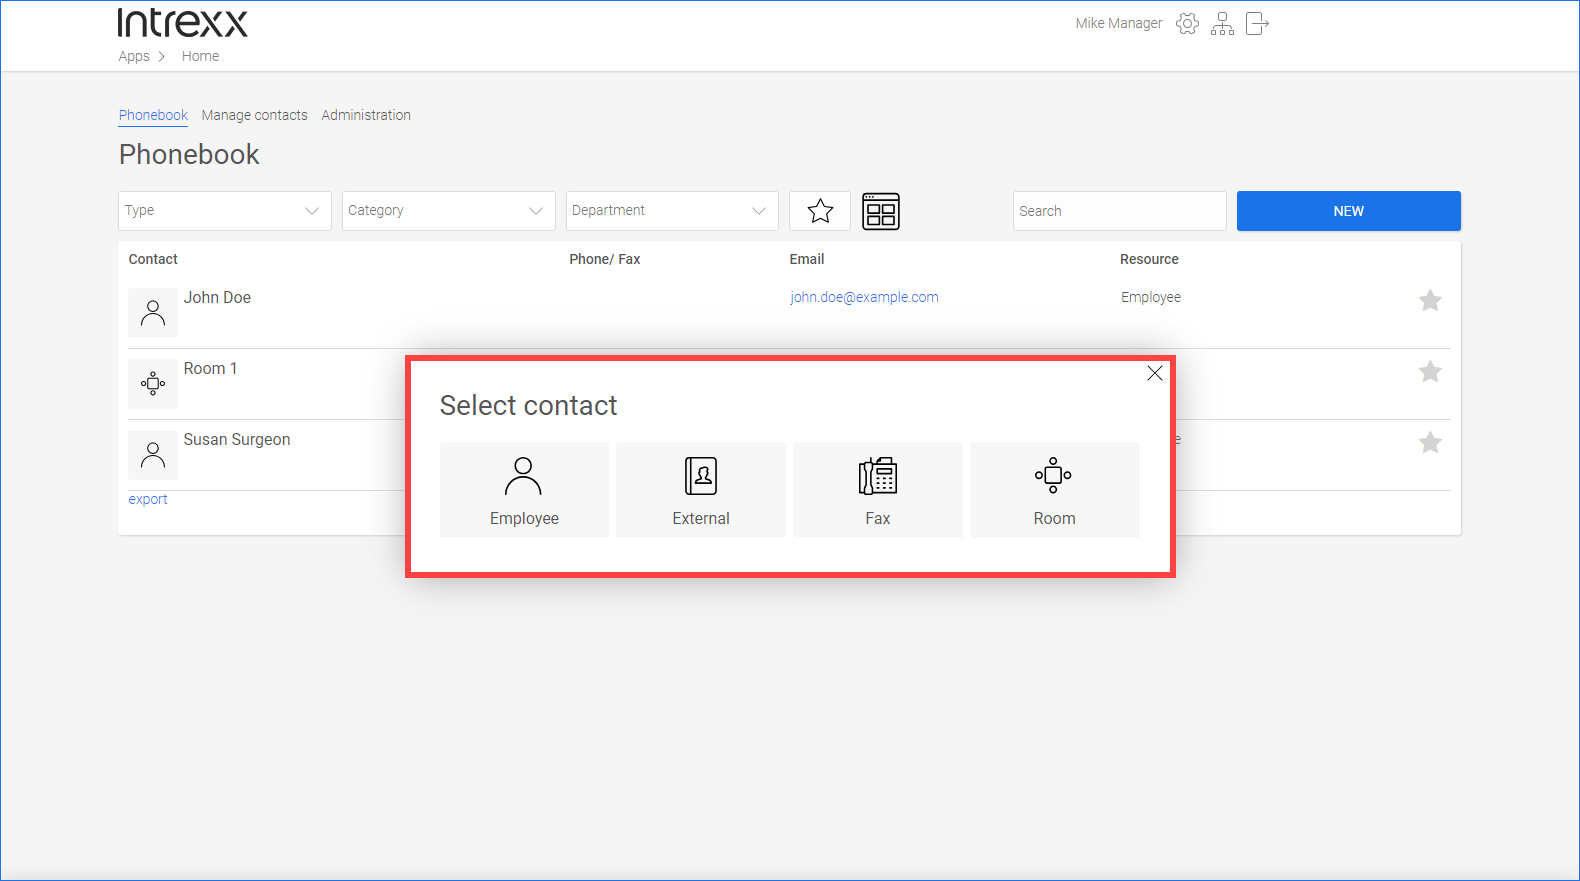
Click on the button.
A dialog box with resource types appears.
Depending on the user role, different resource types may be displayed.
-
Select the desired resource type.

-
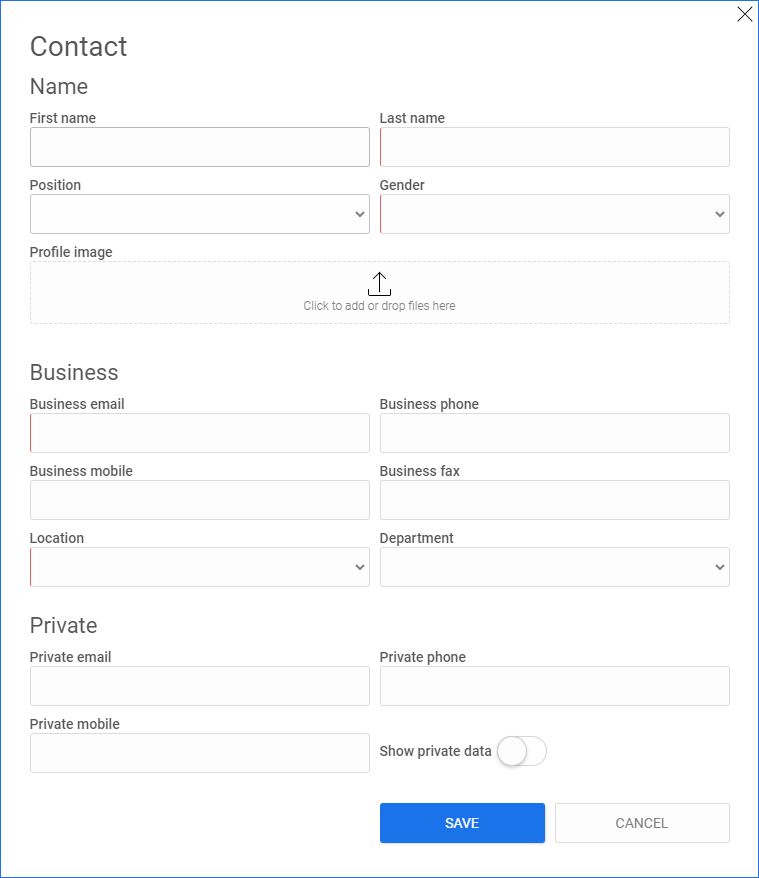
Enter the desired data in the "Contact" dialog box.
Please note that the edit fields may differ depending on the resource type.

-
Click on .
You have created a new contact.
Edit and delete contacts
Step-by-step guide
In the "User" role, you can only edit and delete contacts that you have created.
In the "Manager" role, you can edit and delete all contacts.
-
Click on the picture or the name of the contact.
A dialog box with the main contact details is displayed.
-
Click on the pencil icon
 (edit).
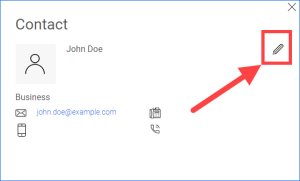
The dialog box with the contact data appears.
-
You can now edit the information. Click on afterwards.
-
You can also delete the contact. Click on to do this.
You have edited or deleted the contact, respectively.

Edit and delete contacts, rooms and fax devices
In the "Manager" role, you have access to the "Manage contacts" page. You can edit and delete deactivated contacts, rooms and fax machines from the clear overview there.
![]()

Delete deactivated contacts
Intrexx users are displayed in the phonebook as contacts. If an Intrexx user is deactivated in the Intrexx Users module, then the corresponding contact will be deactivated in the phonebook. This is indicated in the "Disabled" column on the "Manage contacts" page.
The "Delete deactivated contacts" button allows you to delete deactivated contacts.
When an Intrexx user is reactivated in the Intrexx Users module, he or she will automatically be added to the phonebook as a contact again.
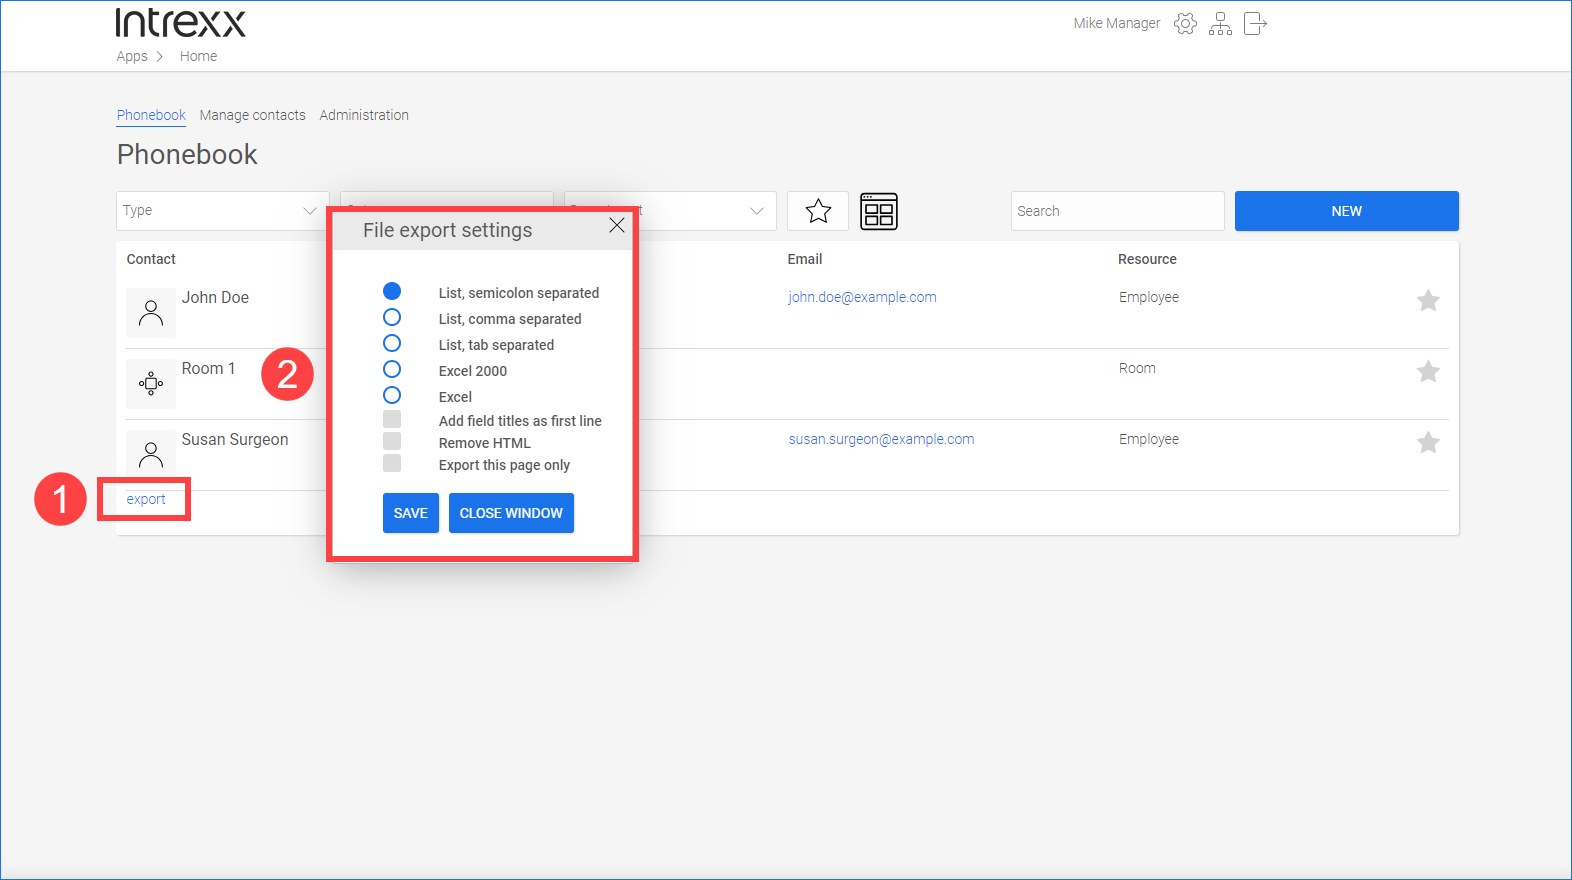
Export contacts
You can export contacts and process them if needed.
Step-by-step guide
To export contacts, please proceed as follows:
-
Click on (
 ).
).
-
Select the desired options (
 ).
).Please not that you can adjust the options. More information is available at the end of this section.
Name
Description
List, separated by semicolon Using each of these options you can create a plain text file (.txt) containing the records in CSV format. You can specify whether the data is separated by either a semicolon, comma or tab.
List, separated by comma List, separated by tab Excel 2000 This option allows you to create an Excel file in .xls format.
Excel This option allows you to create an Excel file in .xlsx format.
Include field titles as first line
If you check this box, the headings or labels of the fields will be exported as the first line.
The headings serve as column headers when data is presented in a table.
Remove HTML
This options allow you to remove HTML code from the records.
Export this page only
If you check this box, only the page currently displayed in the browser will be exported.
-
Click on .
-
Open or save the generated file in the subsequent dialog.
You have exported the contacts.