Image Gallery
The "Image gallery" is an application that allows any portal user to publish images in the portal and make them available for viewing by other portal users.

Organize images
Images are organized into albums. You can add as many images to an album as you want.
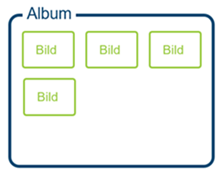
You can create as many albums as you want.
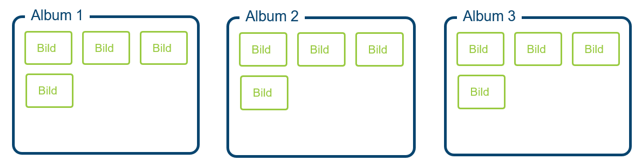
You can assign albums to previously created categories. This provides a better overview and makes it easier to search for albums.
Actions in the portal
Create an album
Step-by-step guide
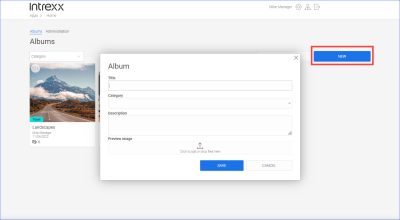
To create a new album, proceed as follows:
-
Click on the button.
The "Album" dialog box is displayed.

-
You will now be on the page where you can add images to the album.
You can now add images to the album (see below).

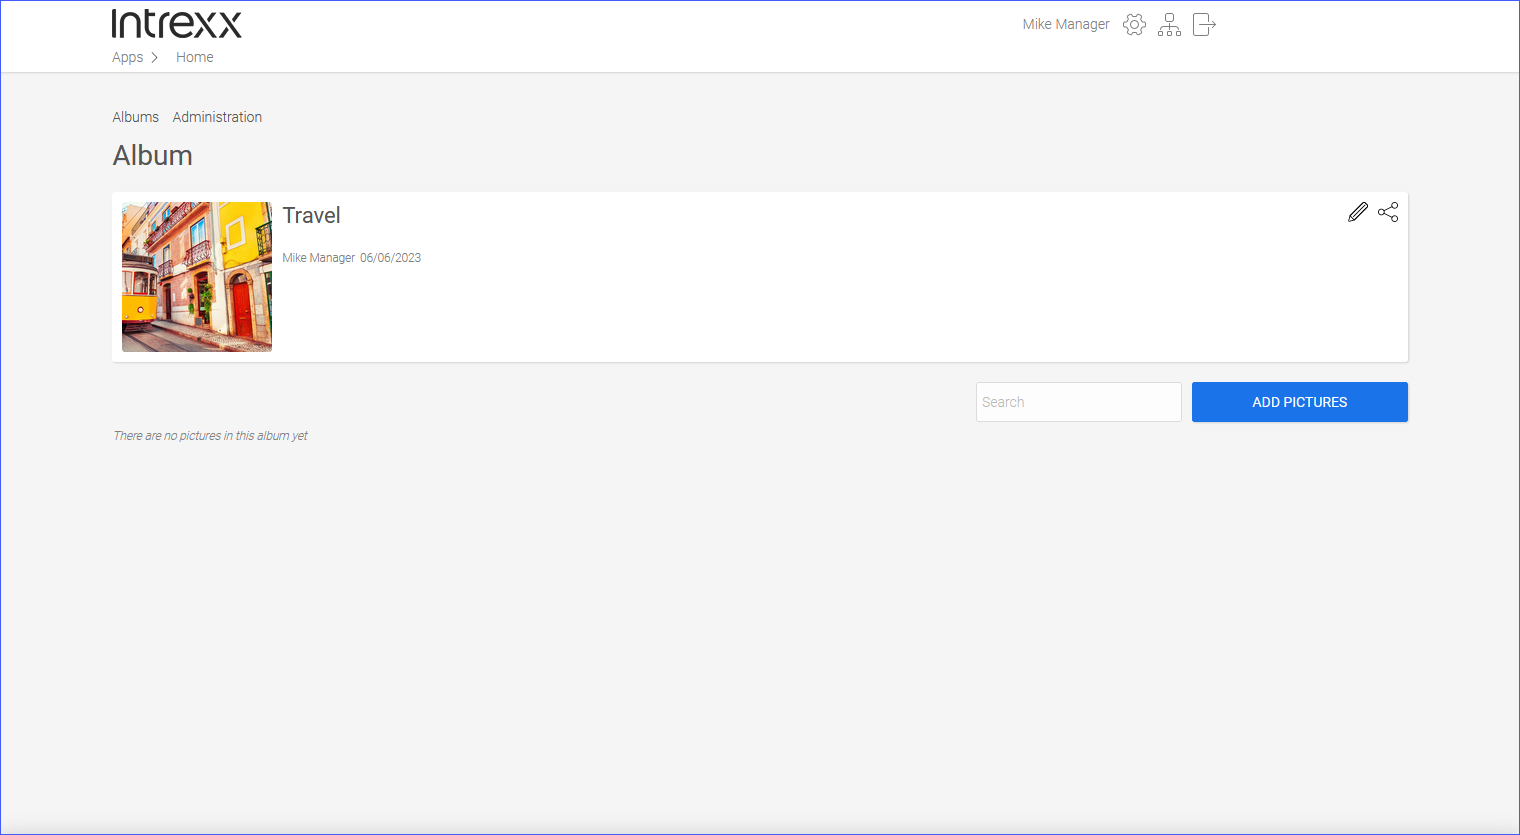
Add images to an album
Step-by-step guide
To add images to an album, proceed as follows:
-
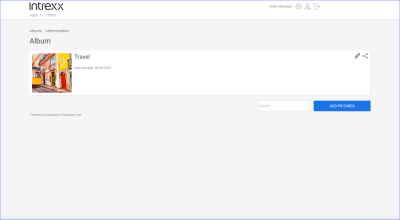
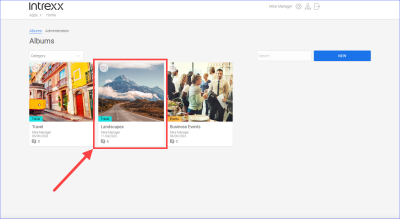
Open the album to which you want to add images.
To do this, click on the desired album or tile.
You will now be on the page where you can add images to the album.
-
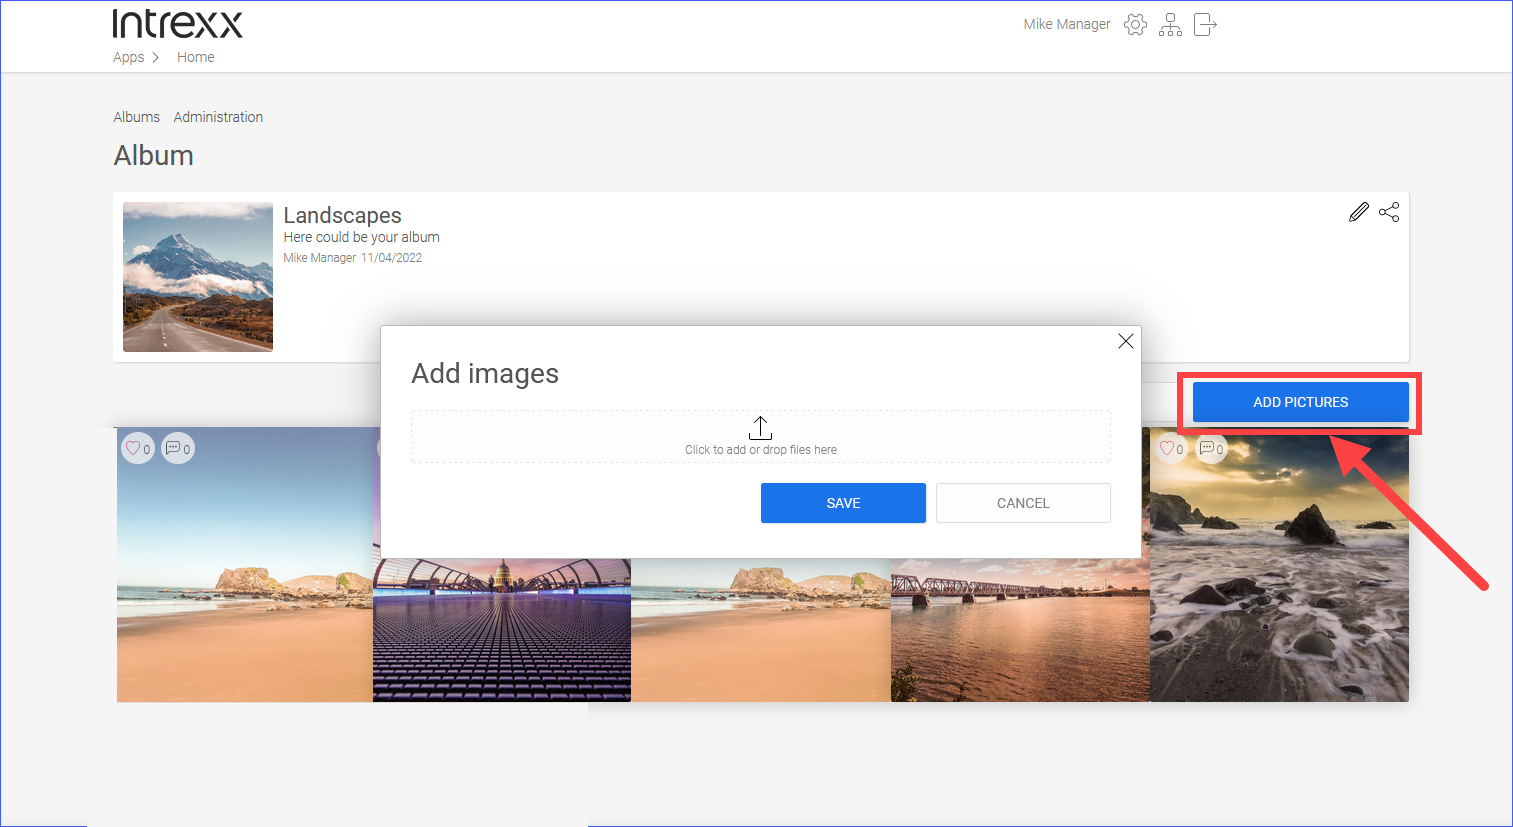
Click the button.
The "Add images" dialog box appears.

-
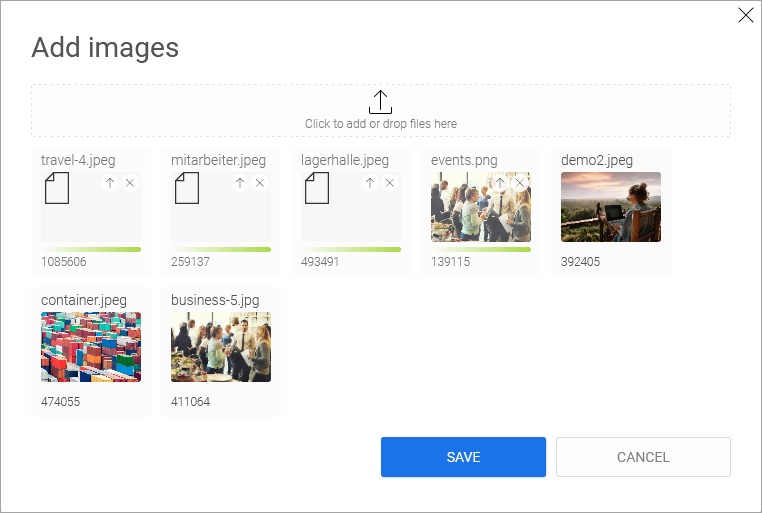
Add images by dragging them to the area marked in grayor by clicking on the area marked in gray and then selecting it.

-
Wait until the images have been uploaded.
-

Edit an album
Note that only the creator of an album can edit it.
Step-by-step guide
To edit the details of an album, proceed as follows:
-
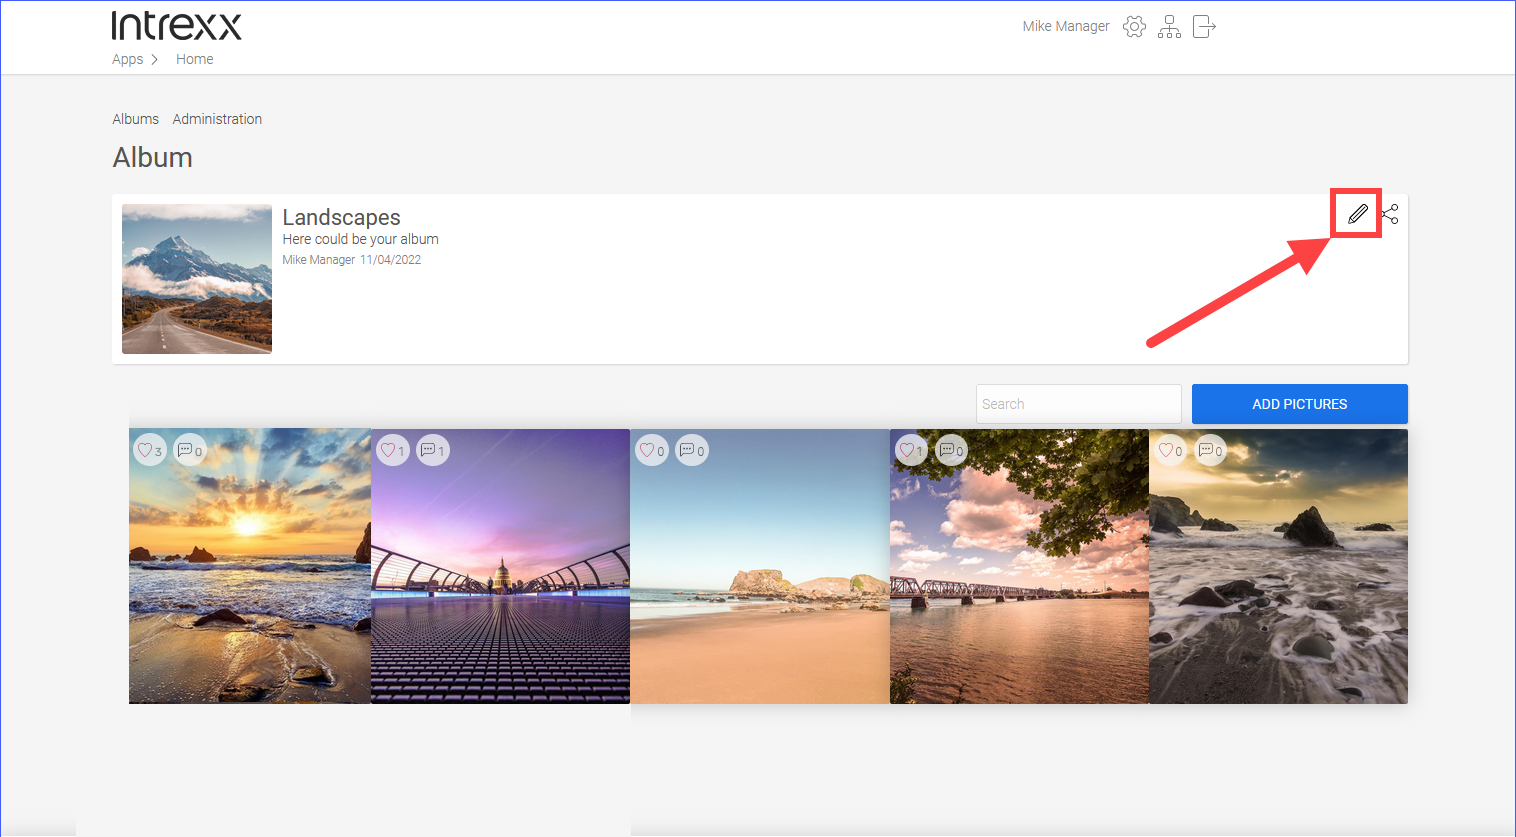
Open the album you want to edit.
-
Click on the pencil icon
 (edit).
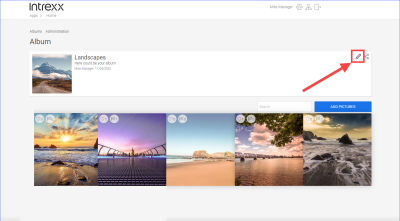
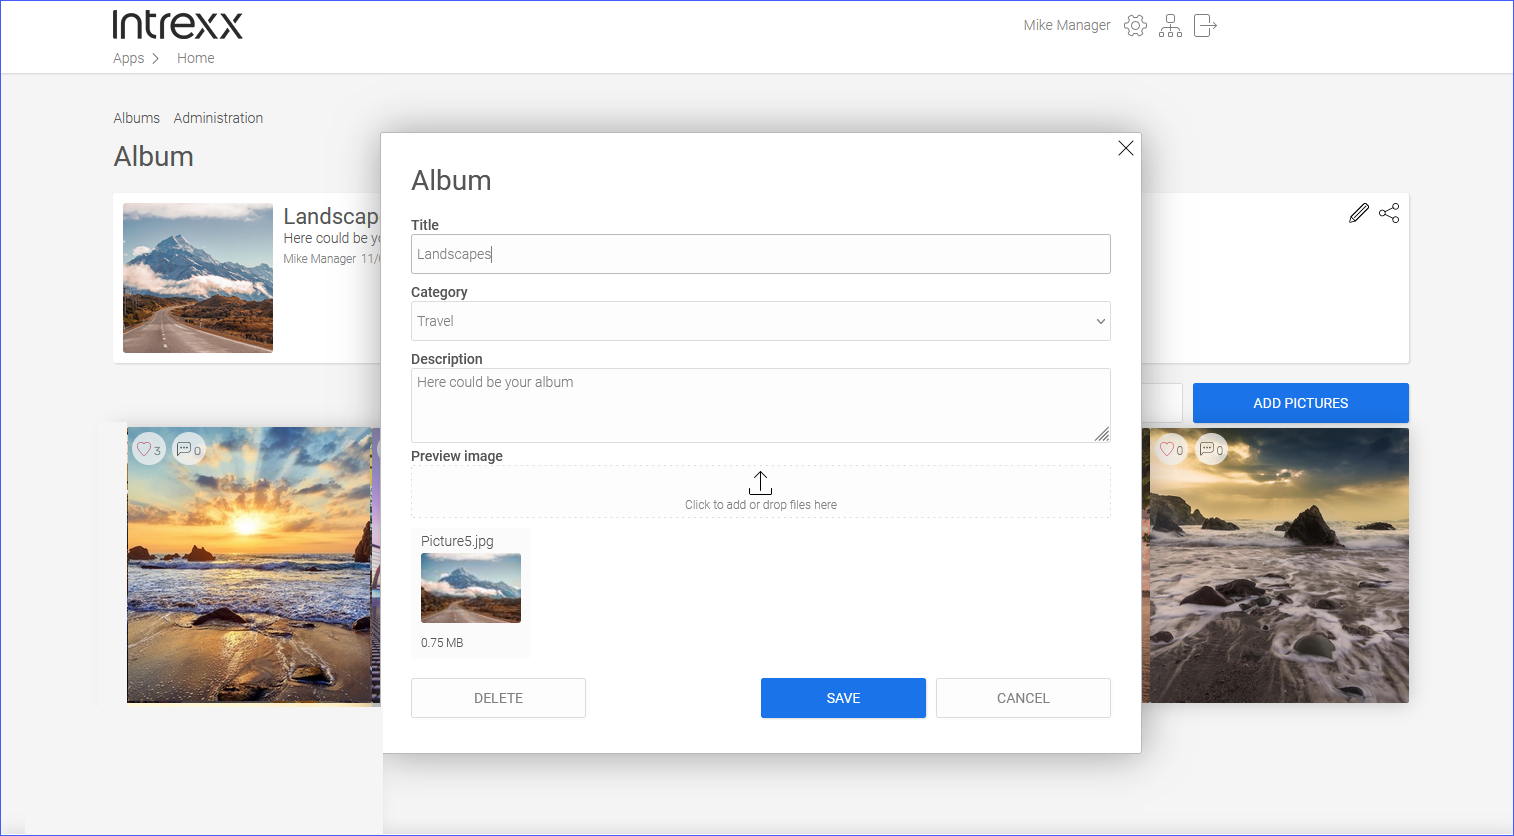
The dialog box for editing the album is displayed.

-
Change or enter the desired information.
-
Delete an album
Note that only the creator of an album can delete it.
Step-by-step guide
To delete an album, proceed as follows:
-
Open the album you want to delete.
-
Click on the pencil icon
(edit).
The dialog box for editing the album is displayed.
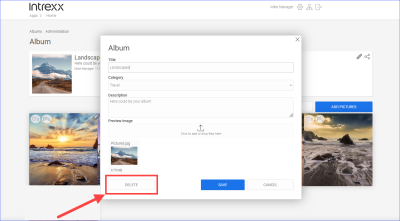
-
Click on .

Enter and edit title and description for images
Step-by-step guide
To enter and edit titles and descriptions for images, proceed as follows:
-
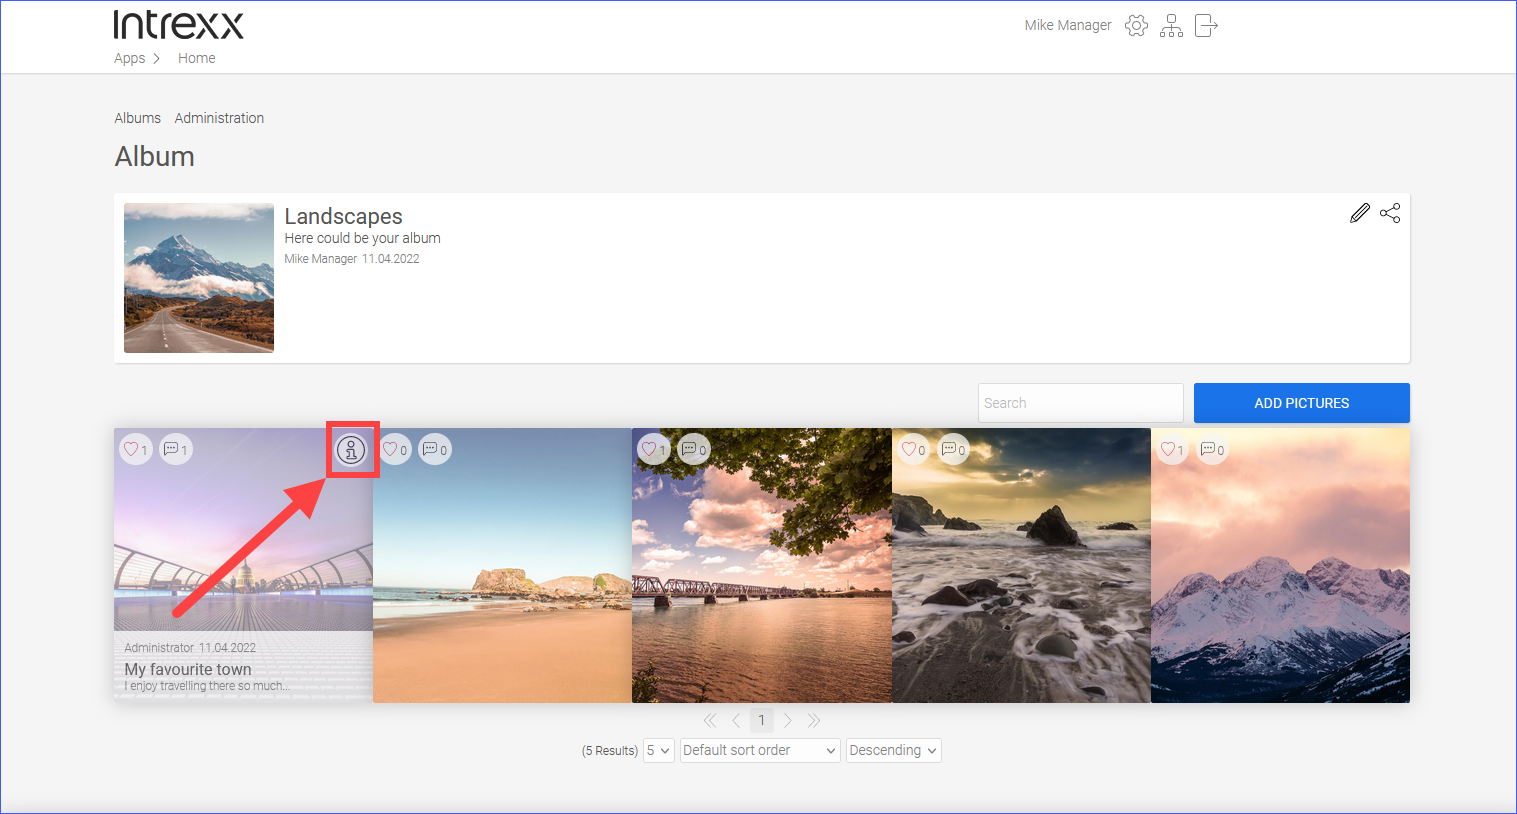
Click the Information icon
 at the top right edge of the image for which you want to enter a title and description.

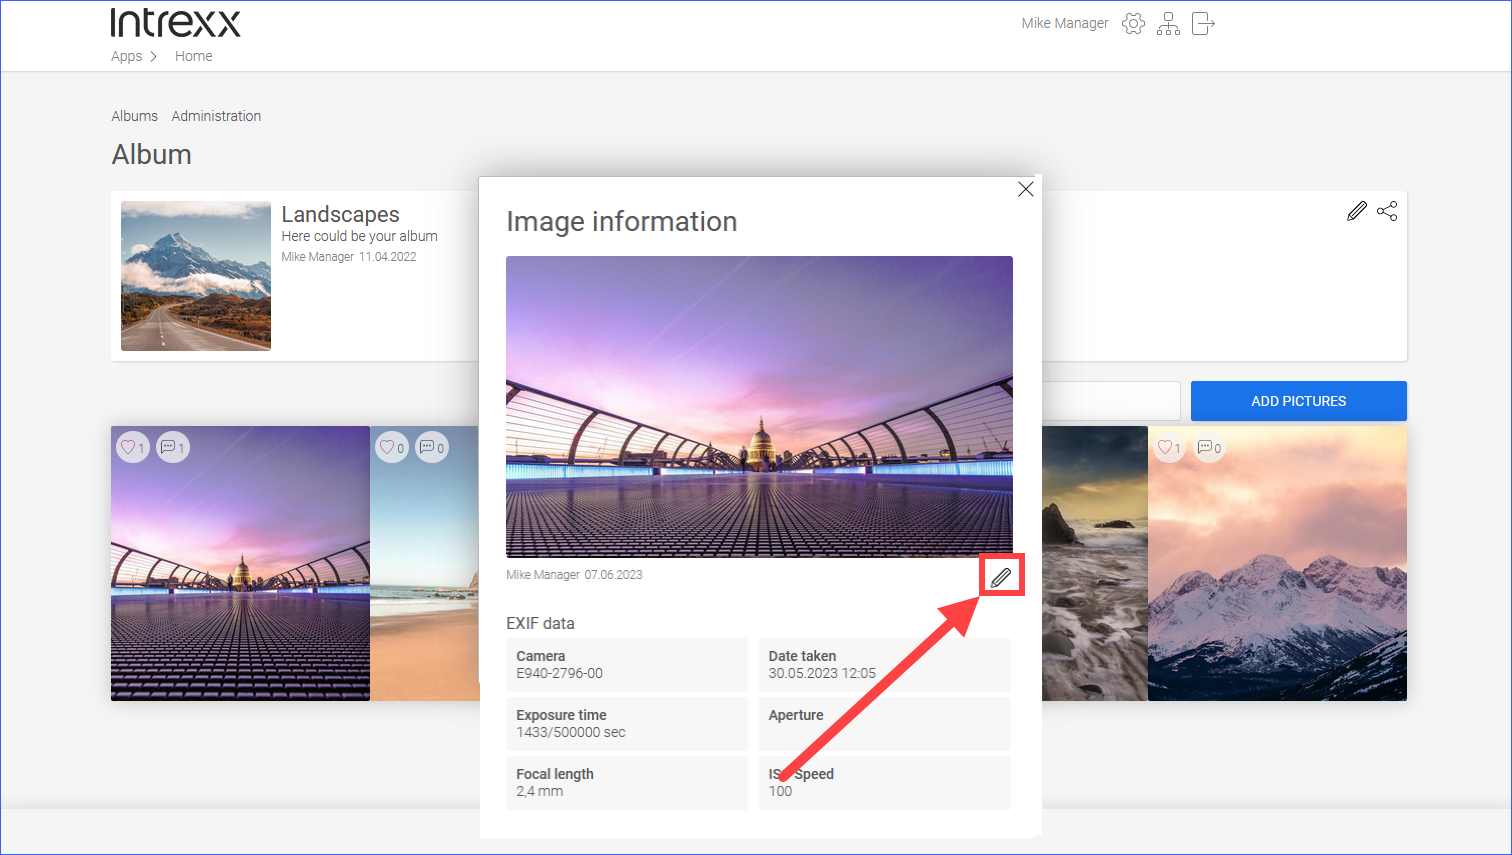
The dialog box with the EXIF data of the image is displayed.
-
Click on .

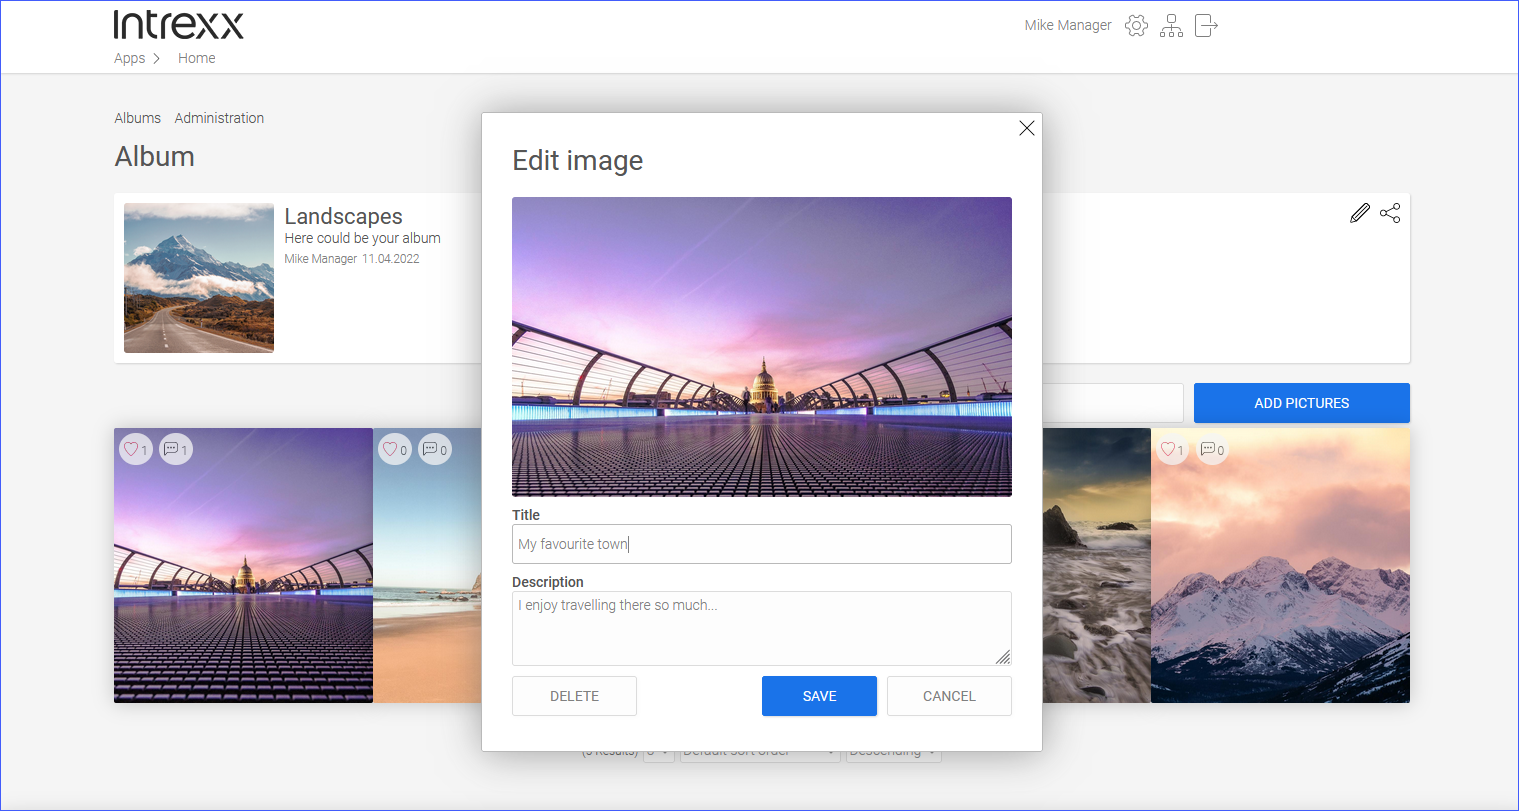
The "Edit image" dialog box appears.

-
Enter or change a title and description for the image.
-
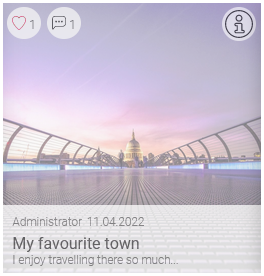
The title and description are displayed on the "Image tile".

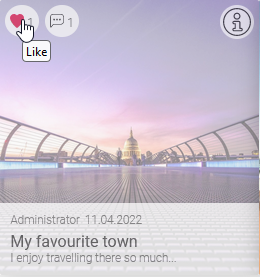
Like albums and images
Click on the heart icon on an "album tile" or on an "image tile" to like it.
![]()
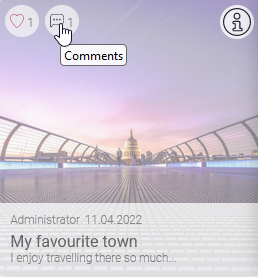
Add comments to images
Step-by-step guide
To enter a comment for an image, proceed as follows:
-
Click on the comments icon
 on the "Image tile".

A dialog box with the COMMENT button is displayed.

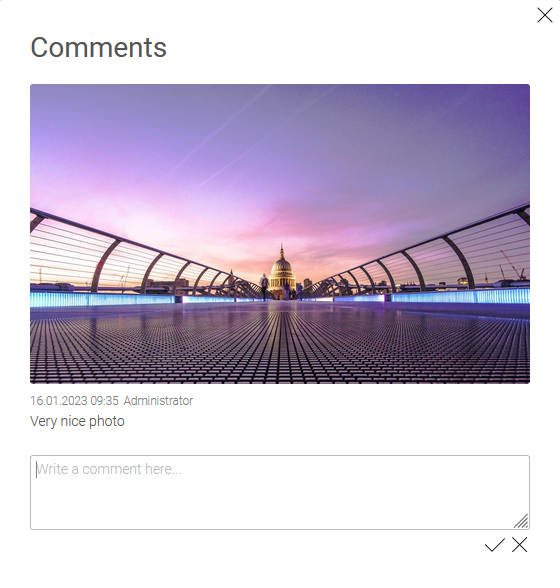
-
Click the button.
The dialog box for entering a comment is displayed.
-
Enter your comment.

-
Click on the checkmark icon.

Add category
In the "Manager" role, you have access to the "Administration" page. You can create new categories there. When you create an album, you can assign it to a category. This allows you to find individual albums.
![]()
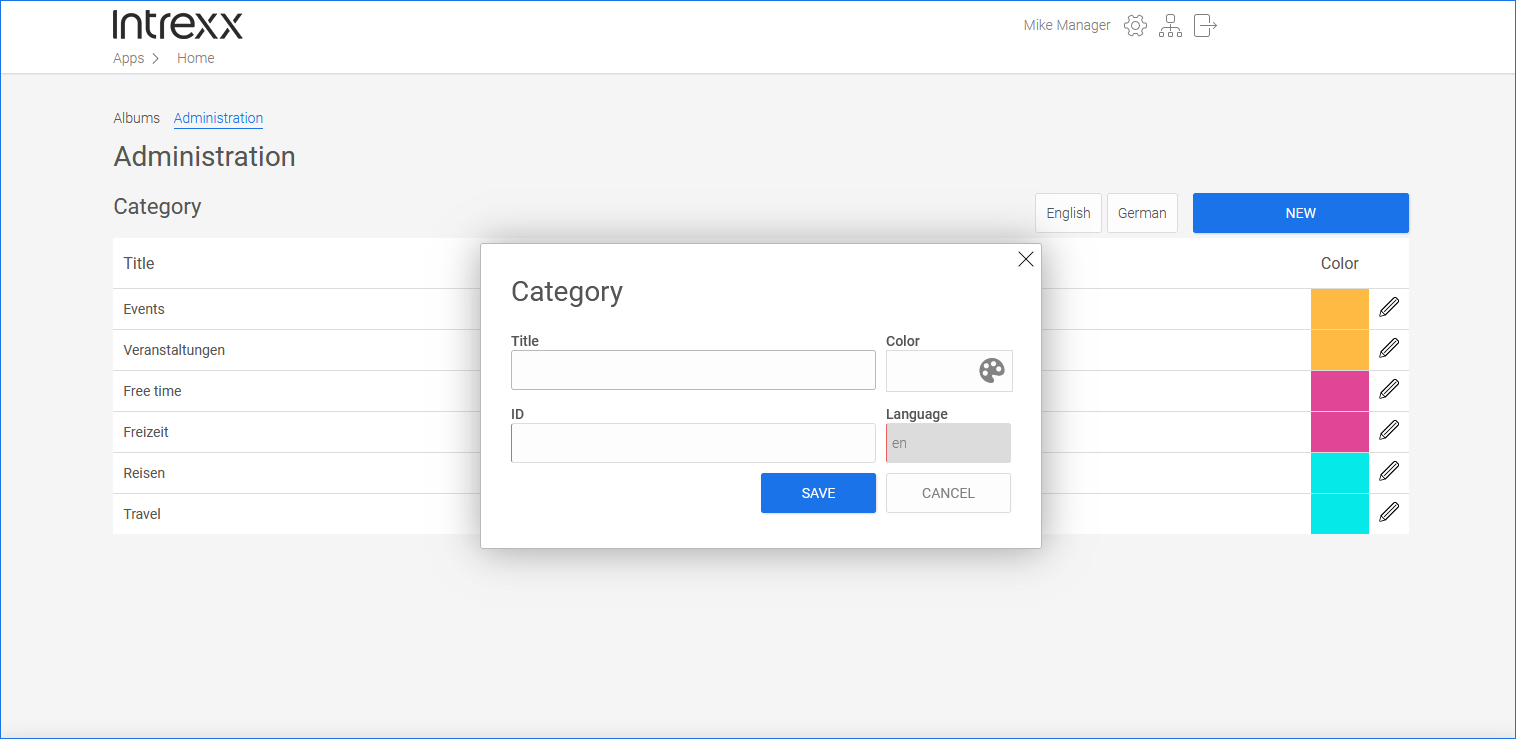
Click on the button to create a new category.
The ID cannot be changed once it has been saved.
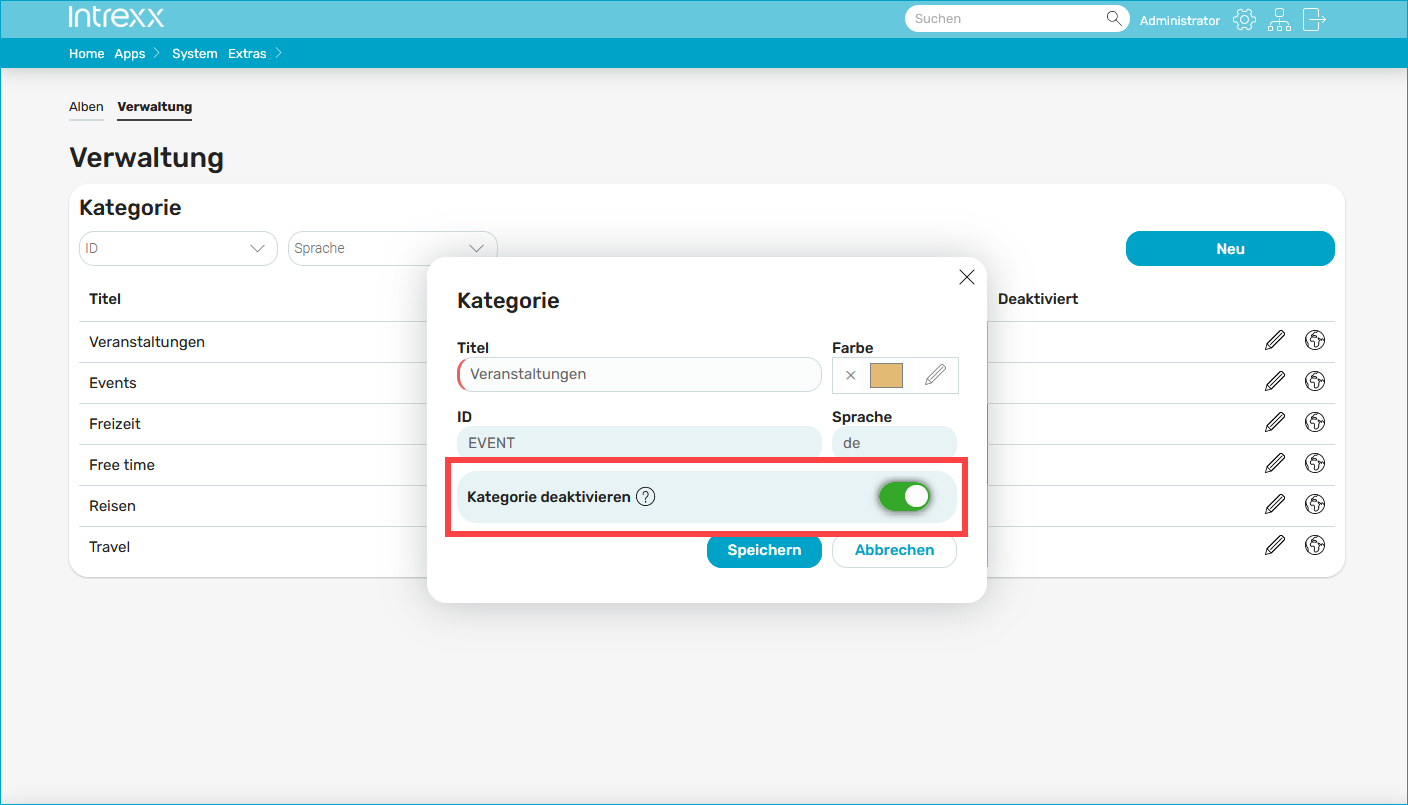
Deactivate and delete category
In the "Manager" role, you can deactivate categories on the "Administration" page.
To do this, click on pencil icon ![]() (edit) next to the category to be deactivated.
(edit) next to the category to be deactivated.
Move the slider to the right.
Once you have deactivated a category, it is no longer available for selection. At the same time, the system checks whether the category is still being used in the application. If this is not the case, the category is deleted automatically.
![]()
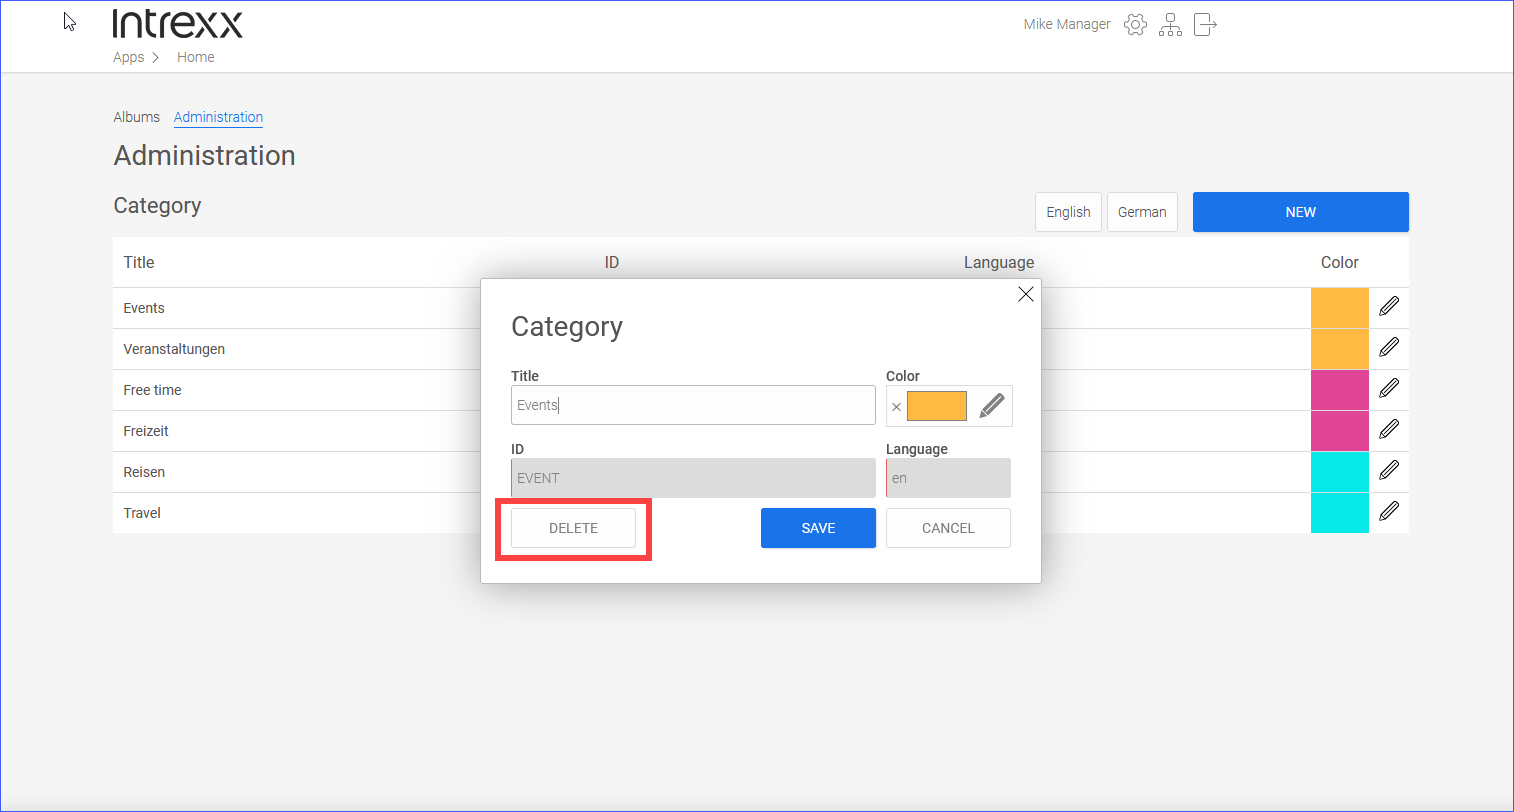
In the "Manager" role, you can delete categories on the "Administration" page.
To do this, click the pencil icon ![]() (edit) next to the category you want to delete.
(edit) next to the category you want to delete.
Click in the dialog box.
![]()
More information