Bulletin board
With the help of the "Bulletin Board" application, offers and want ads can be published however you like. Offers and want ads can be assigned to previously created categories.
After the import and when using the sample data, the application is configured in such a way that every portal user ("User" role) can create offers and want ads.
Portal users with the "Manager" role can, among other things, create and delete categories and types that are helpful for ordering, searching and finding the ads (see below).
Actions in the portal
Create ad
In the "User" role, you have access to the "Advertisement" page. You can create your own ads there.
![]()
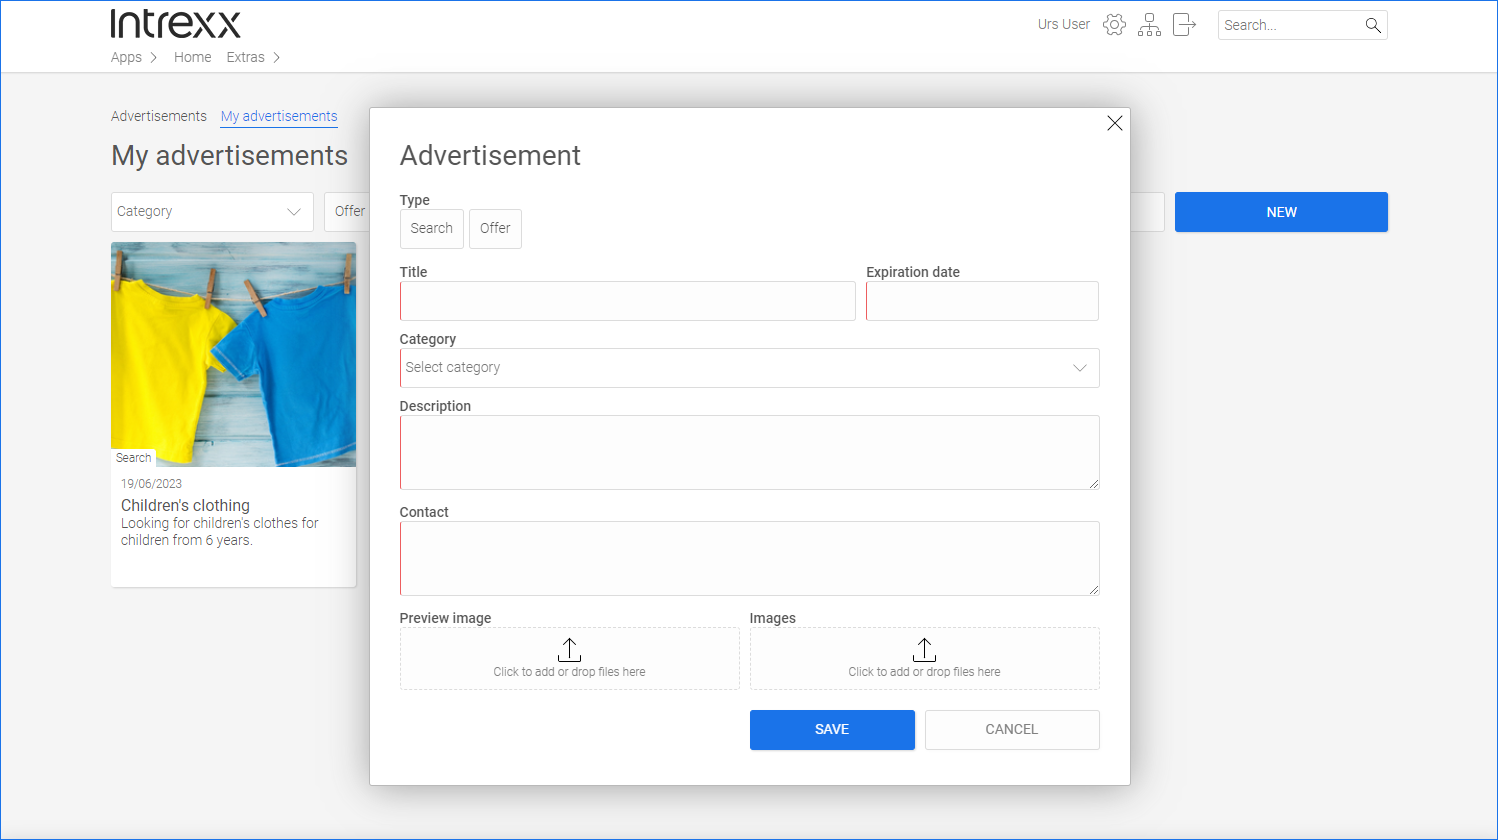
Click on the button to create a new ad.
Enter the appropriate information.
Edit own ads, delete own ads
In the "User" role, you have access to the "My advertisements" page. You can edit and delete your own ads there.
![]()
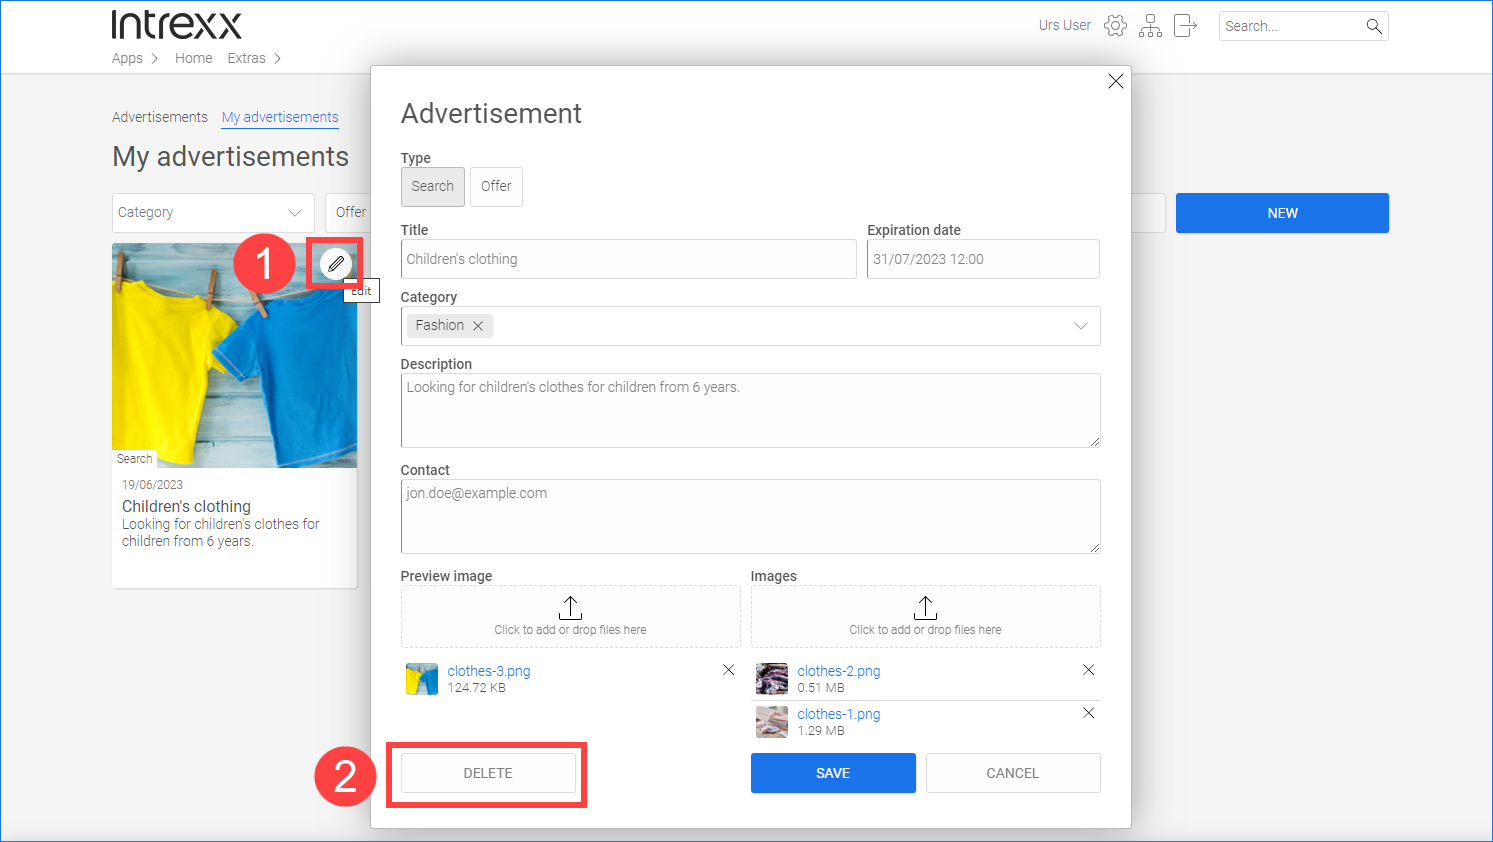
Click on the pencil icon ![]() (edit) in your ad to edit it (
(edit) in your ad to edit it (![]() ).
).
Click on the button to delete it (![]() ).
).
Expired ads
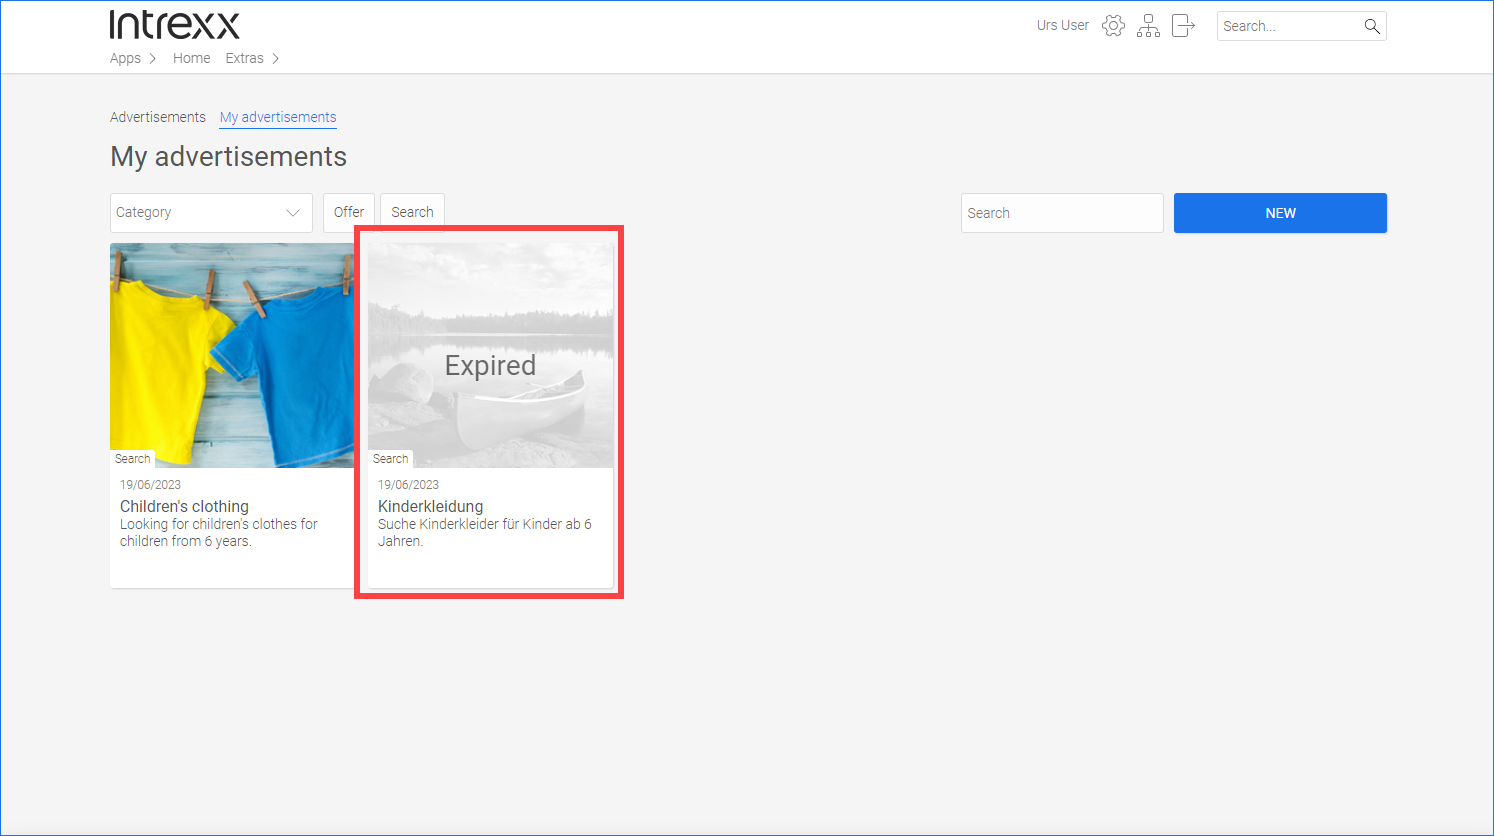
Once the "Expiration date" field has passed, the ads will no longer be displayed on the "Advertisement" page.
On the "My advertisements" page, expired advertisements are grayed out.
If you set the date in the "Expiration date" field to a value in the future, the display will return to the "Advertisement" page.
![]()
Intrexx checks every 20 minutes to see whether the display is from the past.
Create new categories and types for ads
In the "Manager" role, you have access to the "Administration" page. You can create new categories for the ads there.
Categories make it easier to search for and find ads.
![]()
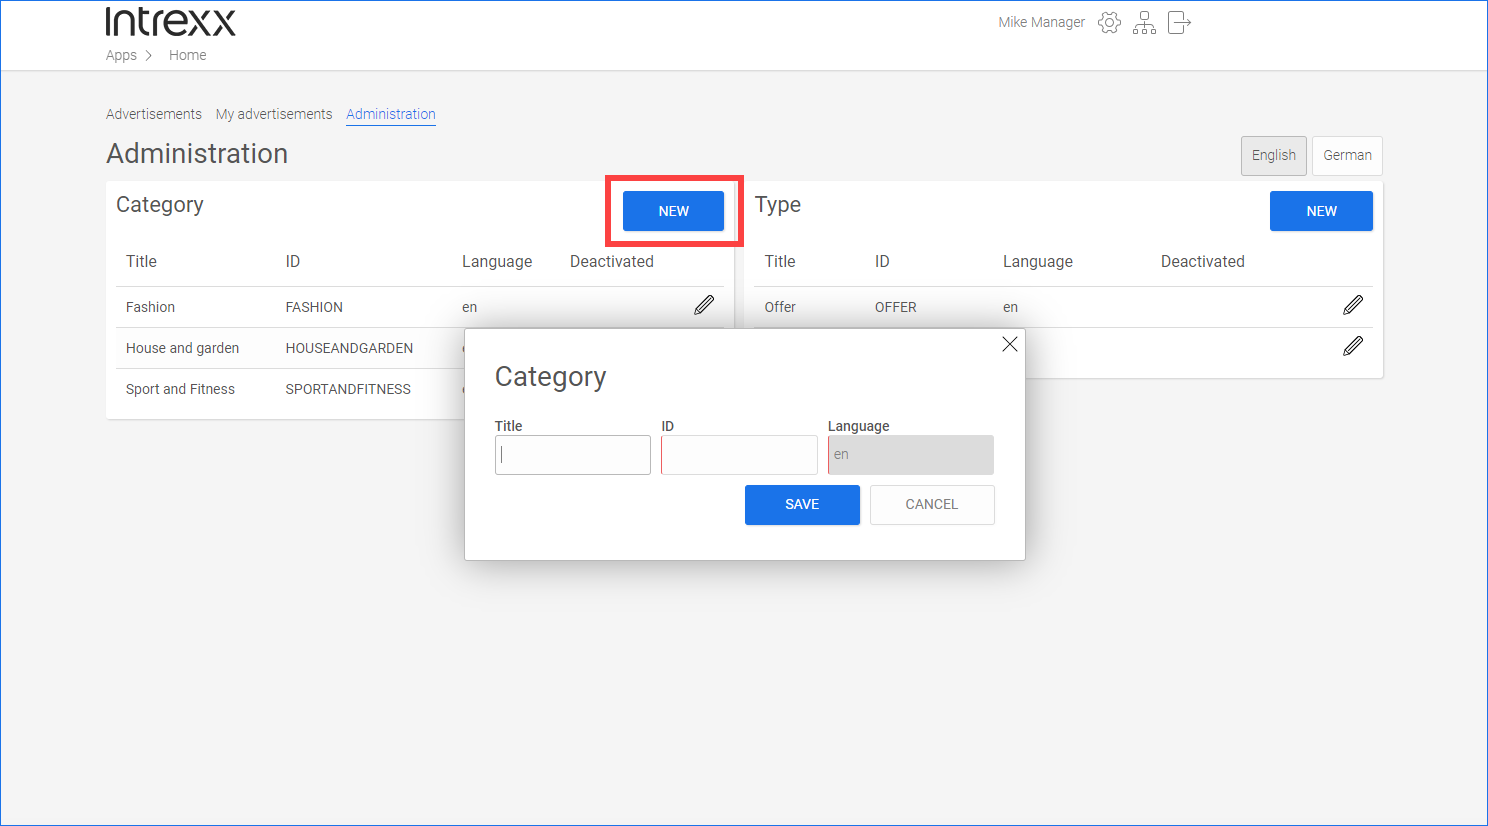
Similarly, you can create new types for ads. The sample data contains the types "Offer" and "Wanted".
Ad types are also used to make searching for and finding ads easier.
![]()
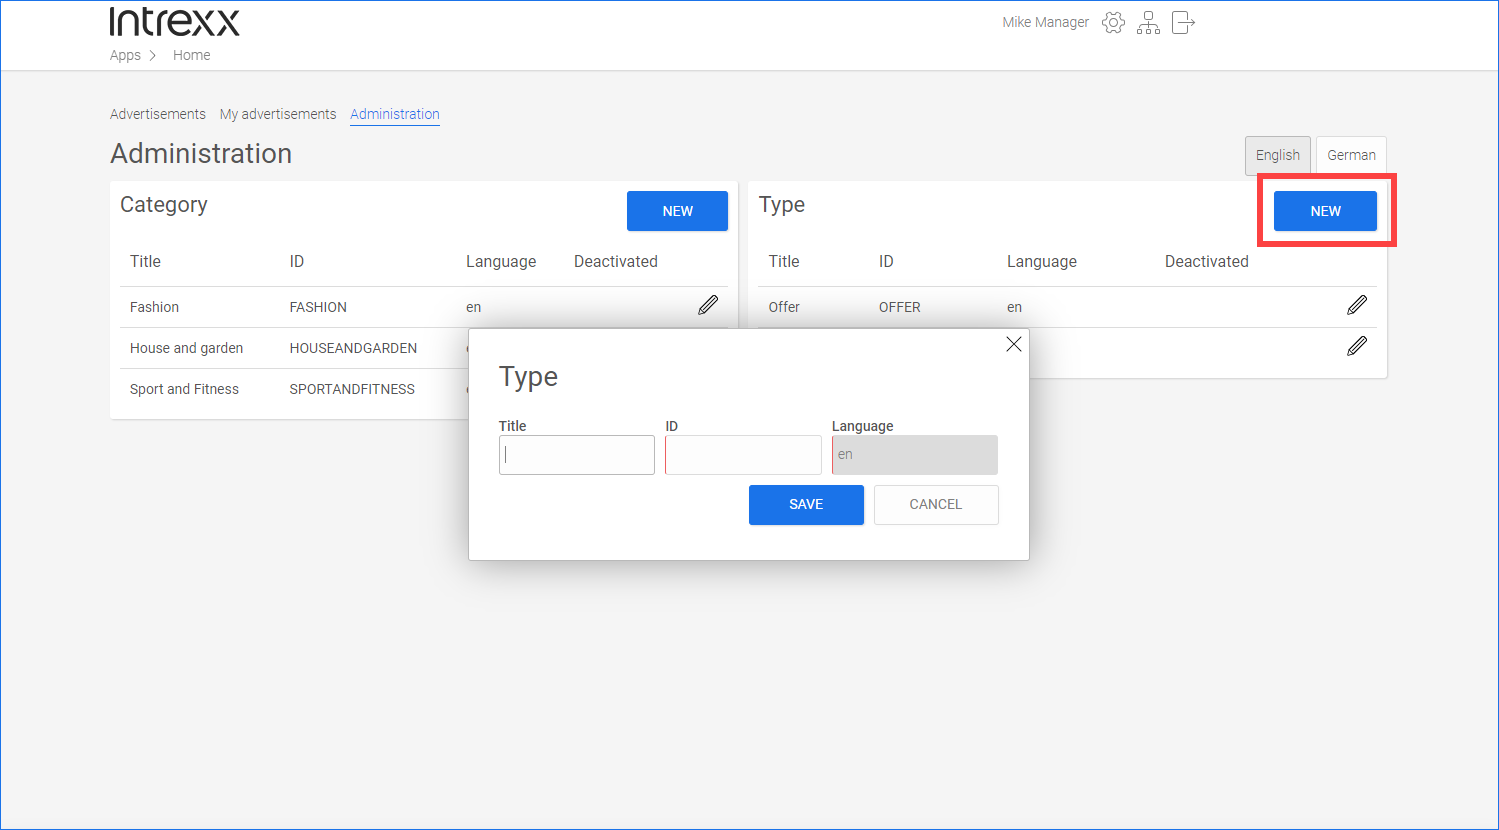
In the "Category" or "Type" area, click the button to create a new category or new type.
The ID cannot be changed once it has been saved.
The language displayed is the language currently selected on the "Administration" page.
More information