File sorting
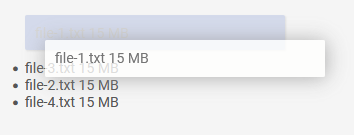
With file sorting, the order of files in the browser can be changed by drag and drop. File sorting can only be created if a file data field exists in the data group.
If multiple files have been uploaded for each data record, file sorting will show all files and allow you to change the order.
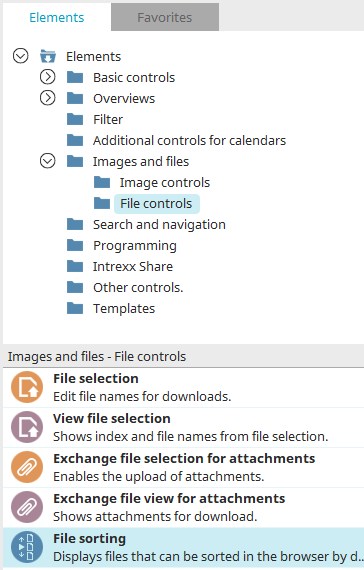
Fnd the file controls in the "Elements" section of the "Applications" module under the "Images and files / File controls" element category. A new element can be created by dragging and dropping the element from here and positioning it on the workspace.
More information on creating elements can be found here.
The Properties dialog of an element opens automatically when a new element is created. The Properties dialog of an existing element can be opened by double-clicking the element on the workspace, via the "Properties" context menu, or via the "Edit / Properties" main menu, if the element is selected in the workspace.
General
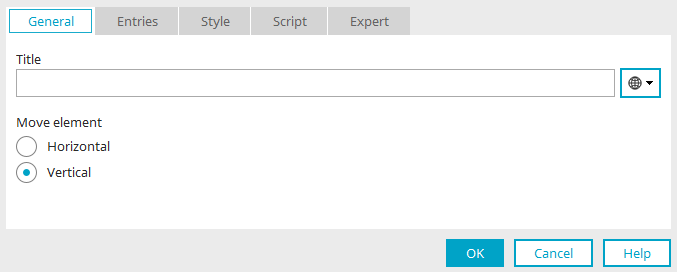
Give the element a title. Click here for information on multilingual titles.
You can also set whether the files should be listed horizontally or vertically.
Entries
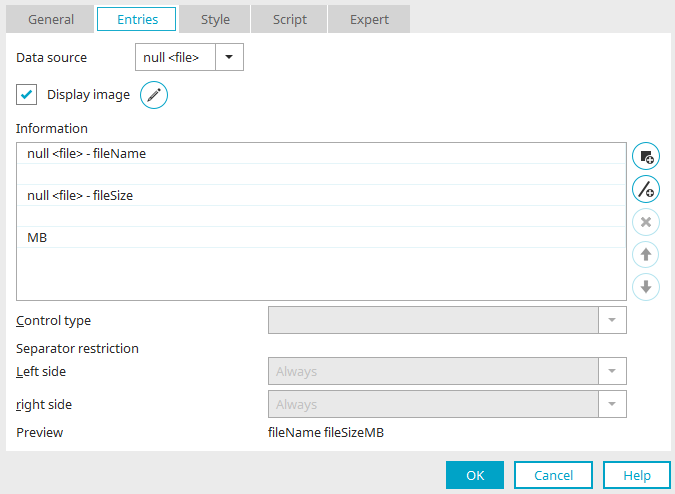
Define here which information about the files should be displayed in file sorting.
Data source
A "file" data field can be selected as the data source.
Show image
If there are images stored in the selected file data field, they will be displayed with this setting.
![]() Format image
Format image
Opens a dialog where the image format can be edited.
Format
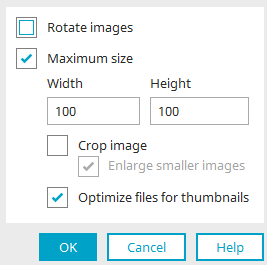
Rotate images
Analyzes the image orientation and rotates it accordingly.
Maximum size
Define the maximum height and width that an image can be in pixels. Larger images are reduced proportionally but smaller images will not be changed.
Crop image
The image's width and height will be adjusted to the surrounding element.
Enlarge smaller images
If this setting is selected as well, smaller images are resized to the preset maximum size.
Optimize files for thumbnails
Reduces the file size for the purpose of increasing the application page's loading time.
Click "OK" to save changes to the image format and close the dialog again.
Text information
Click here for more information about these settings.